Category: Damp & Moisture

Export guides on damp and moisture problems in buildings, including rising damp, penetrating damp, condensation and mould. learn how to identify causes, understand treatment options.

  • Thermal Bridging After Retrofit Work

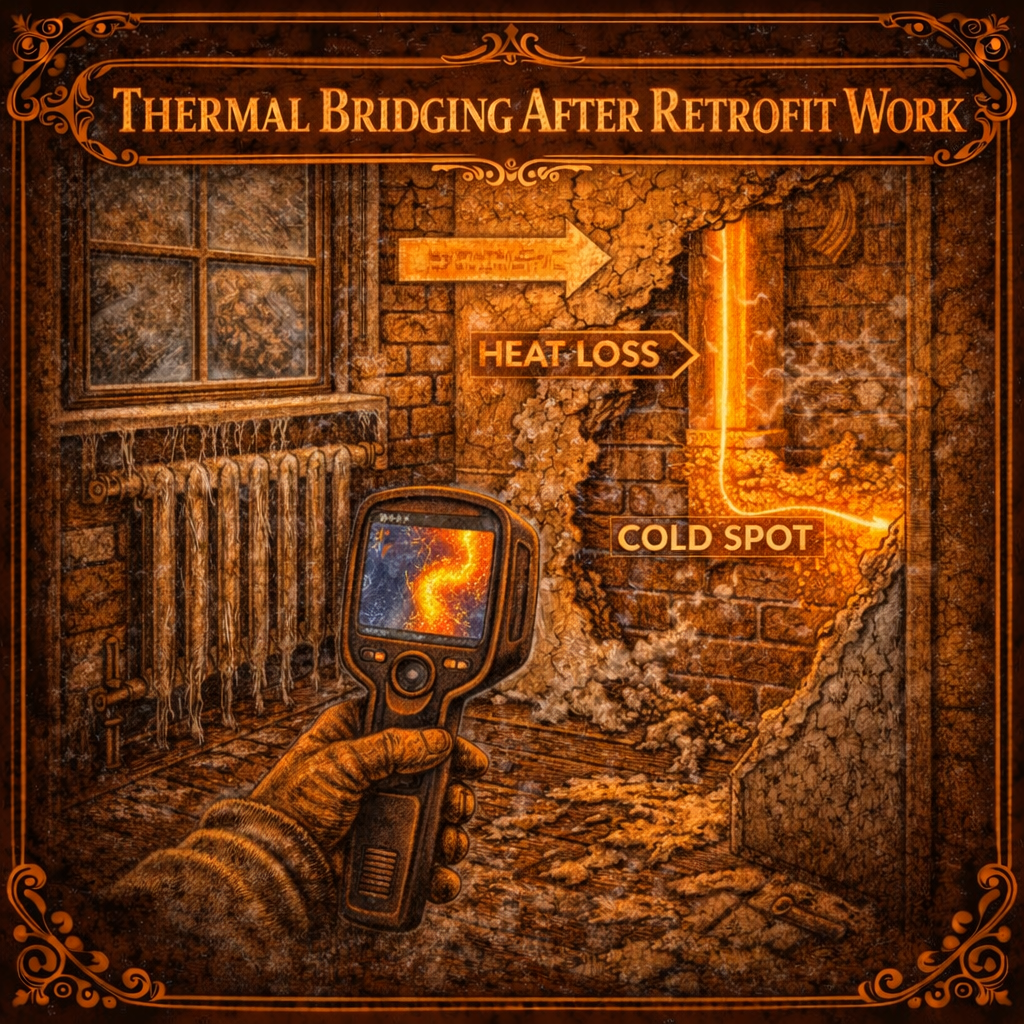
    Thermal Bridging After Retrofit Work

    Thermal bridging occurs when heat escapes through parts of a building structure that are not properly insulated. After retrofit work such as insulation upgrades, thermal bridges may develop if insulation is incomplete or poorly installed.

    These cold spots can reduce the effectiveness of insulation systems and create areas where condensation forms inside the property.

    Thermal bridging is often responsible for localised damp or mould problems that appear even after insulation improvements have been made.

    Why Thermal Bridging Happens

    Thermal bridges form when heat finds an easier path through materials that conduct heat more easily than the surrounding insulation.

    Common locations for thermal bridges include:

    • window and door frames
    • wall junctions
    • floor and ceiling connections
    • structural elements such as steel beams
    • areas where insulation is missing or poorly fitted

    During retrofit projects, thermal bridges can occur when insulation does not fully cover these areas.

    Signs of Thermal Bridging in a Home

    Thermal bridging often leads to noticeable temperature differences on internal surfaces.

    Homeowners may notice:

    • cold patches on walls
    • condensation forming in specific areas
    • mould growth on corners or edges of walls
    • uneven temperatures in rooms
    • damp smells in affected areas

    These problems usually occur in colder parts of the building envelope.

    Investigating Thermal Bridges

    Professionals often use thermal imaging cameras to detect thermal bridging.

    This equipment can identify areas where heat is escaping from the building. Inspections may also involve examining insulation installation to identify gaps or poorly insulated junctions.

    Identifying thermal bridges allows targeted repairs to improve the building’s overall thermal performance.

    How Thermal Bridging Is Resolved

    Solutions typically involve improving insulation around the affected areas.

    Possible improvements include:

    Reducing thermal bridging helps maintain consistent indoor temperatures and prevents condensation problems.
  • Poorly Installed Home Ventilation Systems

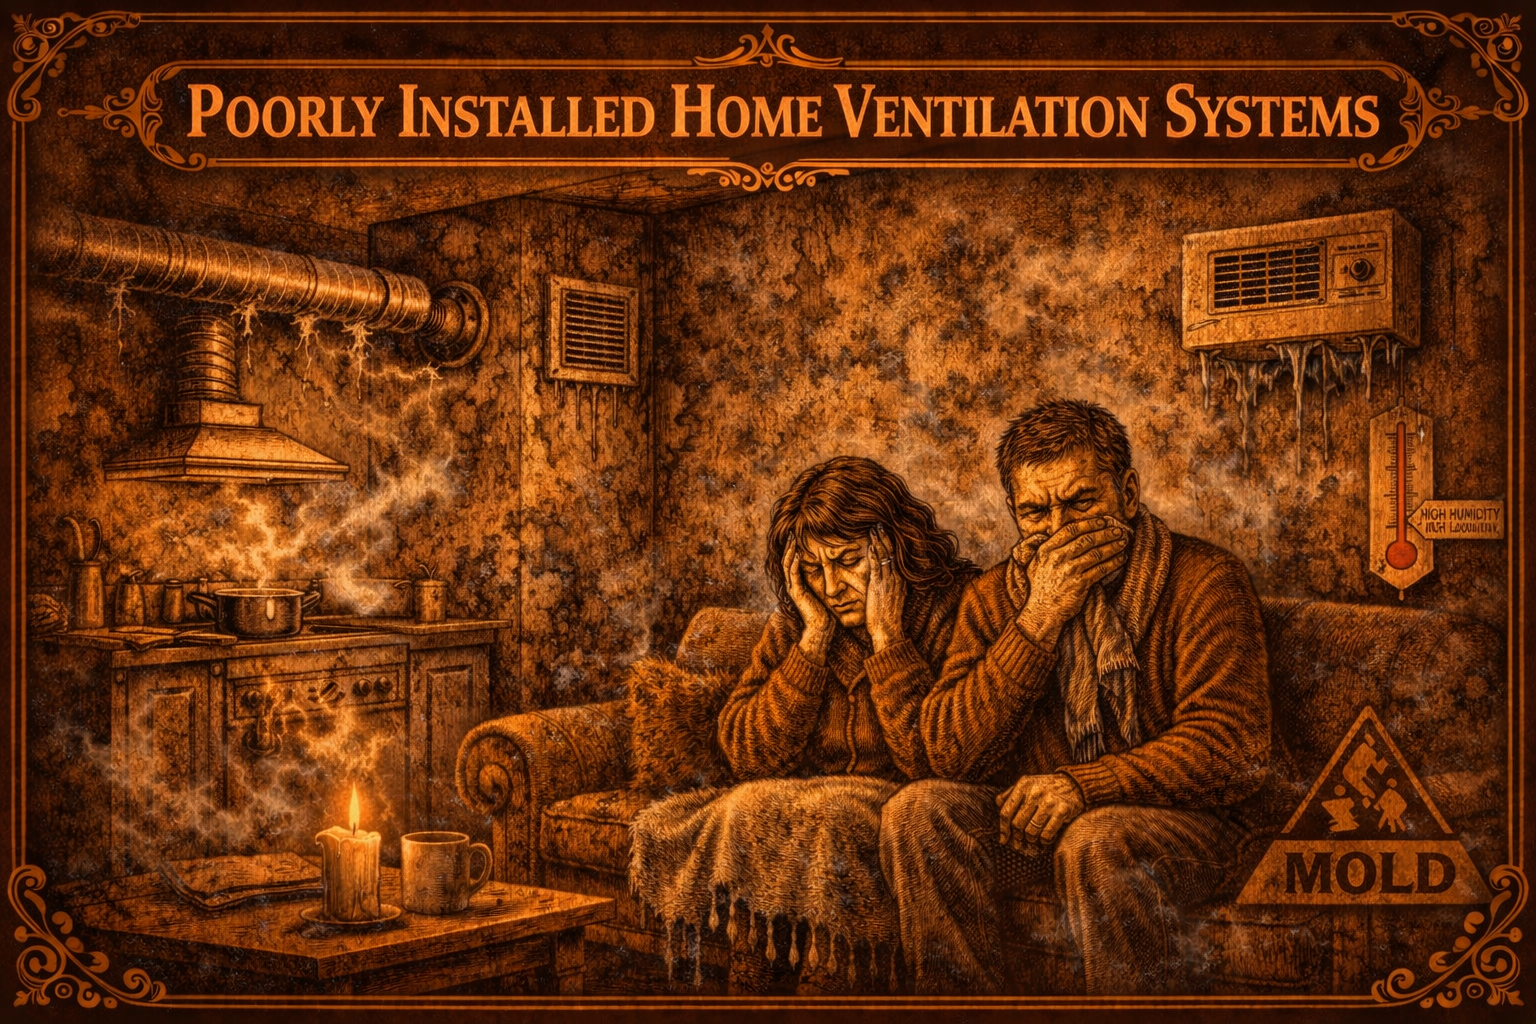
    Poorly Installed Home Ventilation Systems

    Ventilation systems play an important role in maintaining healthy indoor air quality and preventing moisture problems inside homes. When these systems are poorly installed, they may fail to remove humid air effectively.

    As a result, homeowners may experience increased condensation, damp patches or mould growth within the property.

    Ventilation problems are sometimes reported after energy efficiency upgrades where additional insulation makes the home more airtight.

    Why Ventilation Systems Are Important

    Everyday household activities such as cooking, showering and drying clothes produce moisture inside the home. Without proper ventilation, this moisture can accumulate and lead to condensation.

    Modern homes rely on ventilation systems to remove humid air and replace it with fresh outdoor air. When these systems do not function correctly, moisture levels can quickly increase.

    Common Problems With Poorly Installed Ventilation

    Installation faults can prevent ventilation systems from operating effectively.

    Common issues include:

    • extractor fans that are incorrectly positioned
    • ventilation ducts that are blocked or poorly installed
    • systems that do not provide sufficient airflow
    • fans that are not powerful enough for the space
    • poorly sealed duct connections

    These faults can reduce the effectiveness of the entire ventilation system.

    Signs of Ventilation Problems

    Homeowners may notice:

    • condensation forming on windows
    • mould growth on walls or ceilings
    • persistent damp smells inside the property
    • high humidity levels
    • poor air circulation

    These symptoms often appear in bathrooms, kitchens and bedrooms where moisture levels are highest.

    How Ventilation Problems Are Fixed

    Repairing the issue usually involves identifying where the ventilation system has been incorrectly installed.

    Possible solutions include:

    • replacing or upgrading extractor fans
    • correcting duct installation
    • improving airflow through vents
    • installing additional ventilation systems

    Properly functioning ventilation can significantly reduce condensation and improve indoor air quality.

  • Radiators Too Small for Heat Pumps

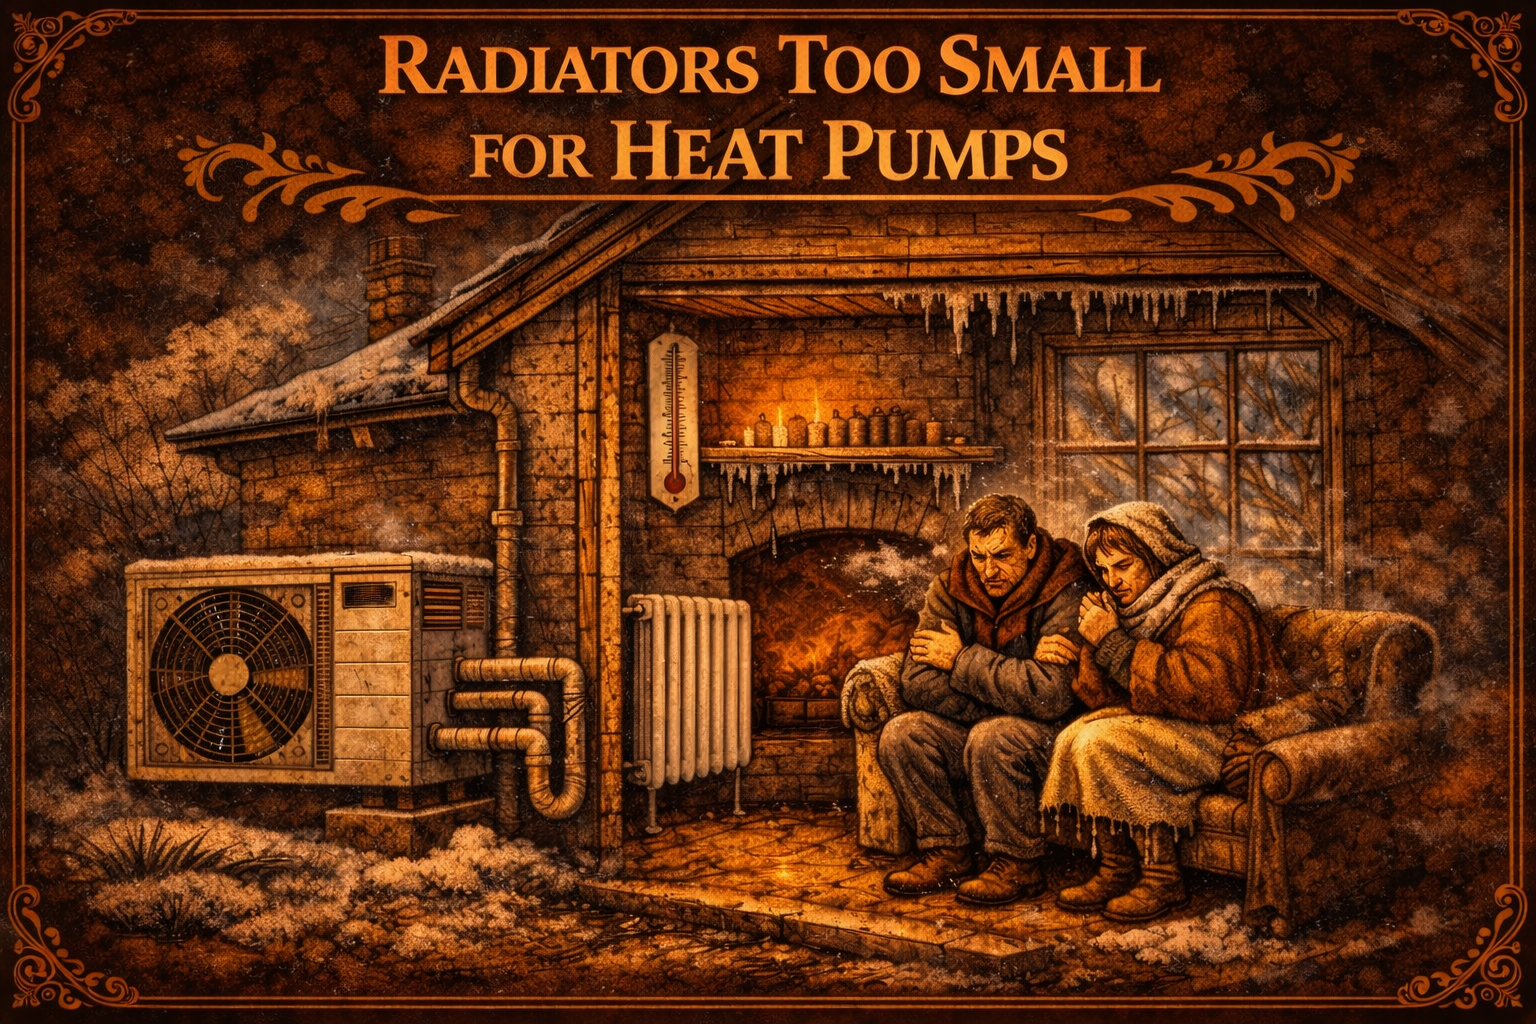
    Radiators Too Small for Heat Pumps

    Heat pumps operate at lower temperatures than traditional gas boilers. Because of this, radiators must often be larger in order to deliver the same amount of heat into a room.

    If existing radiators are too small, homeowners may find their house remains cold even when the heating system is running continuously.

    This issue is commonly reported in properties that have switched from gas boilers to heat pump systems without upgrading the radiators.

    Why Radiator Size Is Important

    Traditional boilers typically heat water to temperatures between 65°C and 80°C. This allows relatively small radiators to heat rooms quickly.

    Heat pumps usually operate at much lower temperatures, often between 35°C and 55°C.

    Because the water temperature is lower, radiators must have a larger surface area to transfer sufficient heat into the room.

    If radiators are too small, they simply cannot release enough heat to warm the space.

    Signs Radiators May Be Undersized

    Several symptoms can indicate that radiators are too small for a heat pump system.

    These include:

    • rooms taking a long time to warm up
    • radiators feeling only slightly warm
    • certain rooms remaining colder than others
    • the heat pump running constantly
    • thermostat temperatures not being reached

    These problems are particularly noticeable during colder winter weather.

    How Radiator Size Is Assessed

    Heating engineers can calculate the correct radiator size for each room using heat loss calculations.

    These calculations consider factors such as:

    • room size
    • insulation levels
    • window size and type
    • external wall exposure

    This helps determine whether existing radiators can provide enough heat.

    How the Problem Is Fixed

    If radiators are too small, several solutions may be used:

    • replacing radiators with larger models
    • installing additional radiators
    • using fan-assisted radiators designed for low-temperature systems
    • installing underfloor heating systems

    Once the heating emitters are correctly sized, the heat pump system can operate much more effectively.

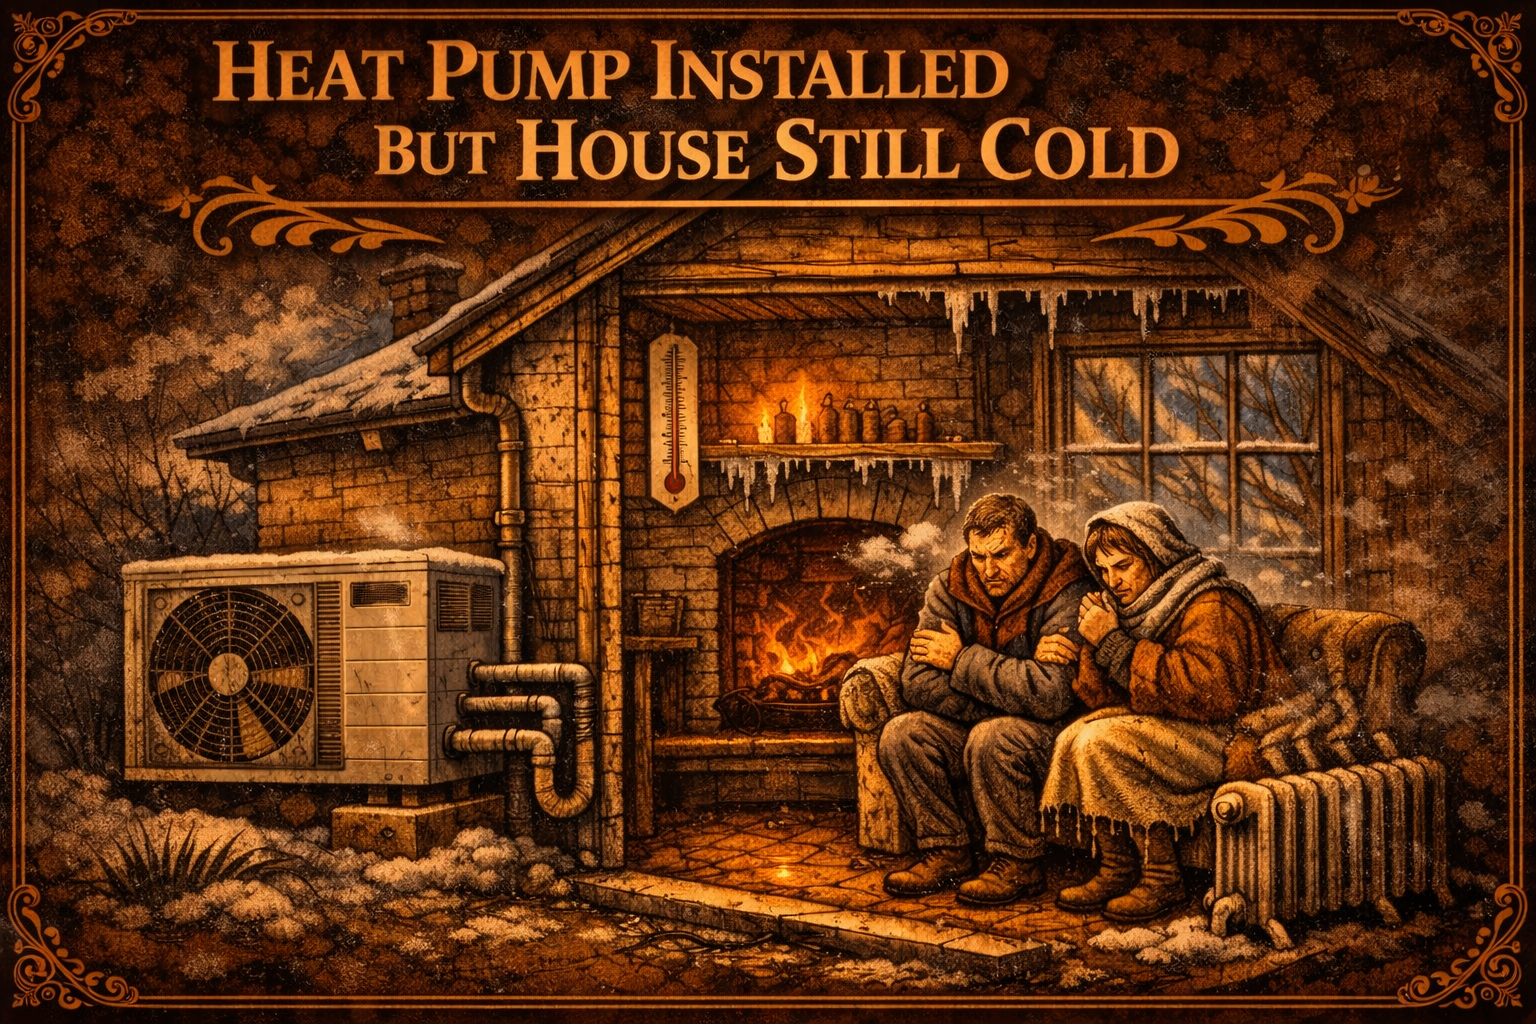
  • Heat Pump Installed but House Still Cold

    Heat Pump Installed but House Still Cold

    Heat pumps are designed to provide efficient heating for homes, but some homeowners find their property still feels cold even after a heat pump has been installed.

    Unlike traditional gas boilers, heat pumps operate at lower temperatures and rely on the entire heating system being properly designed. If the system is not correctly configured, the heat pump may struggle to maintain comfortable indoor temperatures.

    This problem is sometimes seen in homes that have undergone energy efficiency upgrades through government schemes or retrofit programmes.

    Why Heat Pumps Sometimes Fail to Heat a Home Properly

    A heat pump system must be carefully designed to match the heating requirements of the property.

    If the system is undersized or poorly configured, it may not be able to provide enough heat to warm the home effectively.

    Common causes include:

    In many cases the heat pump itself is functioning correctly, but the rest of the heating system has not been adapted to work with it.

    Signs a Heat Pump System Is Not Performing Properly

    Homeowners may notice several symptoms when a heat pump system is not working as expected.

    These include:

    • rooms remaining cold even when the heating is on
    • the heat pump running constantly
    • uneven temperatures between rooms
    • increased electricity usage
    • difficulty reaching thermostat settings

    These symptoms often indicate that the heating system has not been properly designed for the property.

    How the Problem Is Investigated

    A heating engineer will usually carry out a system assessment to determine why the heat pump is not providing enough heat.

    This may involve:

    • calculating the heat loss of the building
    • checking radiator sizes and output
    • inspecting system controls and settings
    • examining insulation levels within the property

    This assessment helps identify whether the issue lies with the heat pump itself or with the overall system design.

    How the Issue Is Resolved

    Solutions depend on the cause of the problem but may include:

    • upgrading radiators to larger models
    • installing additional radiators
    • improving insulation within the home
    • adjusting system controls and flow temperatures

    Once the system is correctly configured, heat pumps can provide efficient and consistent heating.

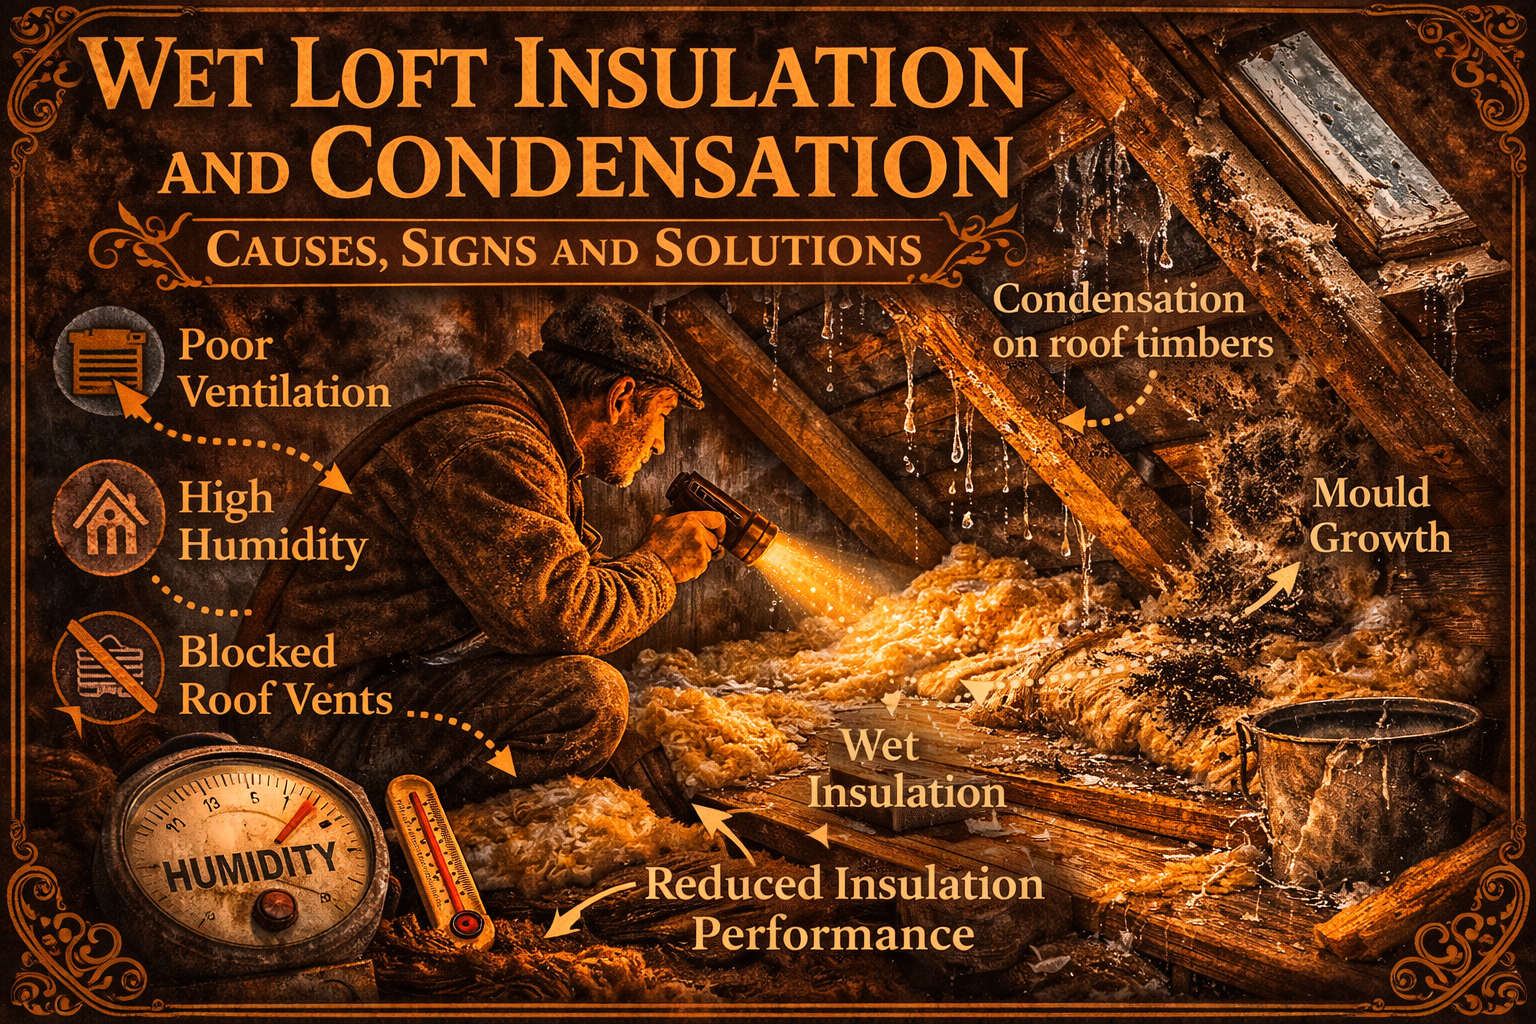
  • Wet Loft Insulation and Condensation

    Wet Loft Insulation and Condensation

    Loft insulation should normally remain dry and effective at reducing heat loss. If insulation becomes wet or damp, it often indicates a condensation problem within the roof space.

    Moisture trapped in the loft can soak into insulation materials and reduce their ability to retain heat.

    Over time, wet insulation may also contribute to mould growth and timber damage.

    Why Loft Insulation Becomes Wet

    There are several reasons why loft insulation may become damp.

    Common causes include:

    When warm air from the home rises into the loft and meets colder surfaces, condensation can form.

    Warning Signs of Wet Loft Insulation

    Homeowners may notice several signs that insulation has become damp.

    These include:

    Wet insulation also loses much of its thermal performance.

    Problems Caused by Damp Insulation

    If insulation remains wet for long periods, it can lead to further issues.

    Potential problems include:

    • reduced insulation performance
    • mould growth
    • timber decay in roof structures
    • persistent condensation in the loft

    Addressing moisture problems early can help prevent structural damage.

    Preventing Moisture in Loft Insulation

    Preventing condensation in a loft space usually involves improving ventilation and controlling moisture.

    Effective measures include:

    • ensuring roof vents remain clear
    • installing proper loft ventilation
    • sealing gaps where warm air enters the loft
    • controlling humidity levels inside the home

    These steps help keep loft insulation dry and functioning properly.

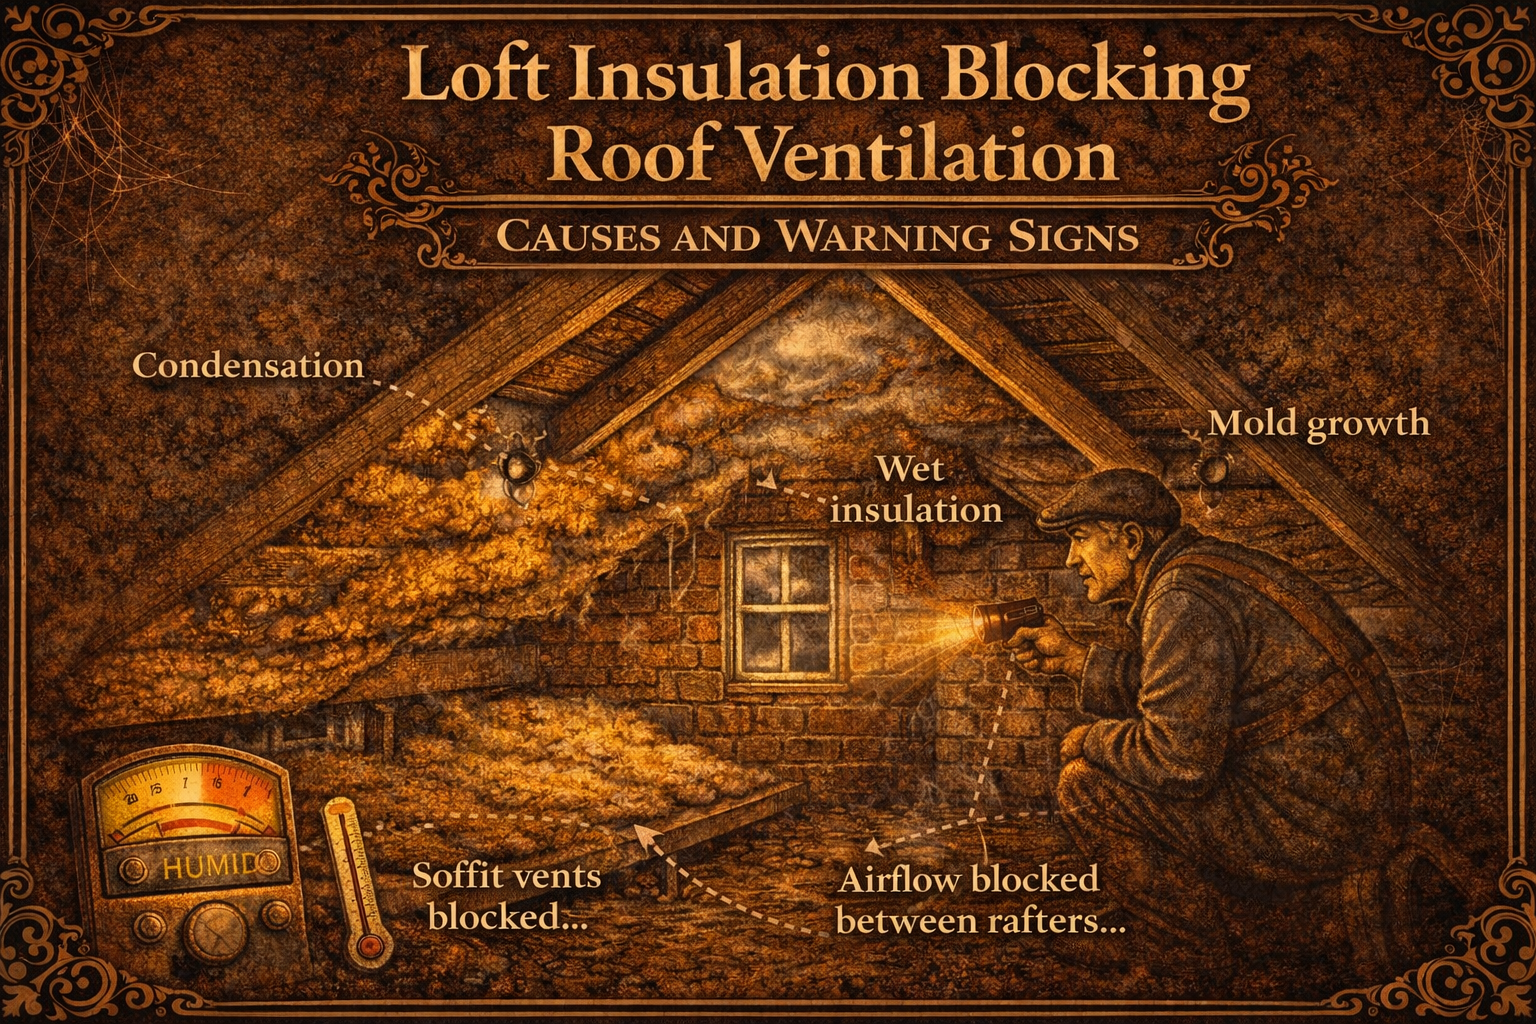
  • Loft Insulation Blocking Roof Ventilation

    Loft Insulation Blocking Roof Ventilation

    Loft insulation is an important part of improving home energy efficiency. However, problems can occur when insulation is installed incorrectly and blocks essential roof ventilation.

    Roof spaces rely on airflow to remove moisture and prevent condensation. When insulation blocks vents or airflow paths, moisture can build up in the loft and cause damp problems.

    Why Roof Ventilation Is Important

    Most pitched roofs rely on ventilation to allow moisture to escape from the loft space.

    Sources of moisture in a loft include:

    • warm air rising from the home below
    • bathroom and kitchen humidity
    • natural moisture from building materials

    Roof vents, soffit vents, and ridge ventilation allow air to circulate and carry this moisture away.

    How Insulation Can Block Ventilation

    Problems often occur when loft insulation is installed too tightly against the roof structure.

    Common issues include:

    • insulation covering soffit vents
    • insulation pushed into the eaves
    • insulation blocking airflow between rafters
    • poorly installed insulation boards

    When ventilation is blocked, moisture becomes trapped inside the loft.

    Signs of Ventilation Problems in a Loft

    When roof ventilation is restricted, several warning signs may appear.

    These can include:

    If left untreated, trapped moisture can eventually damage timber roof structures.

    Fixing Ventilation Problems

    Solutions usually involve restoring proper airflow within the loft space.

    Possible measures include:

    • installing ventilation trays
    • clearing insulation away from eaves
    • improving roof vent systems
    • adjusting insulation placement

    Ensuring adequate ventilation helps prevent condensation and protects the roof structure.

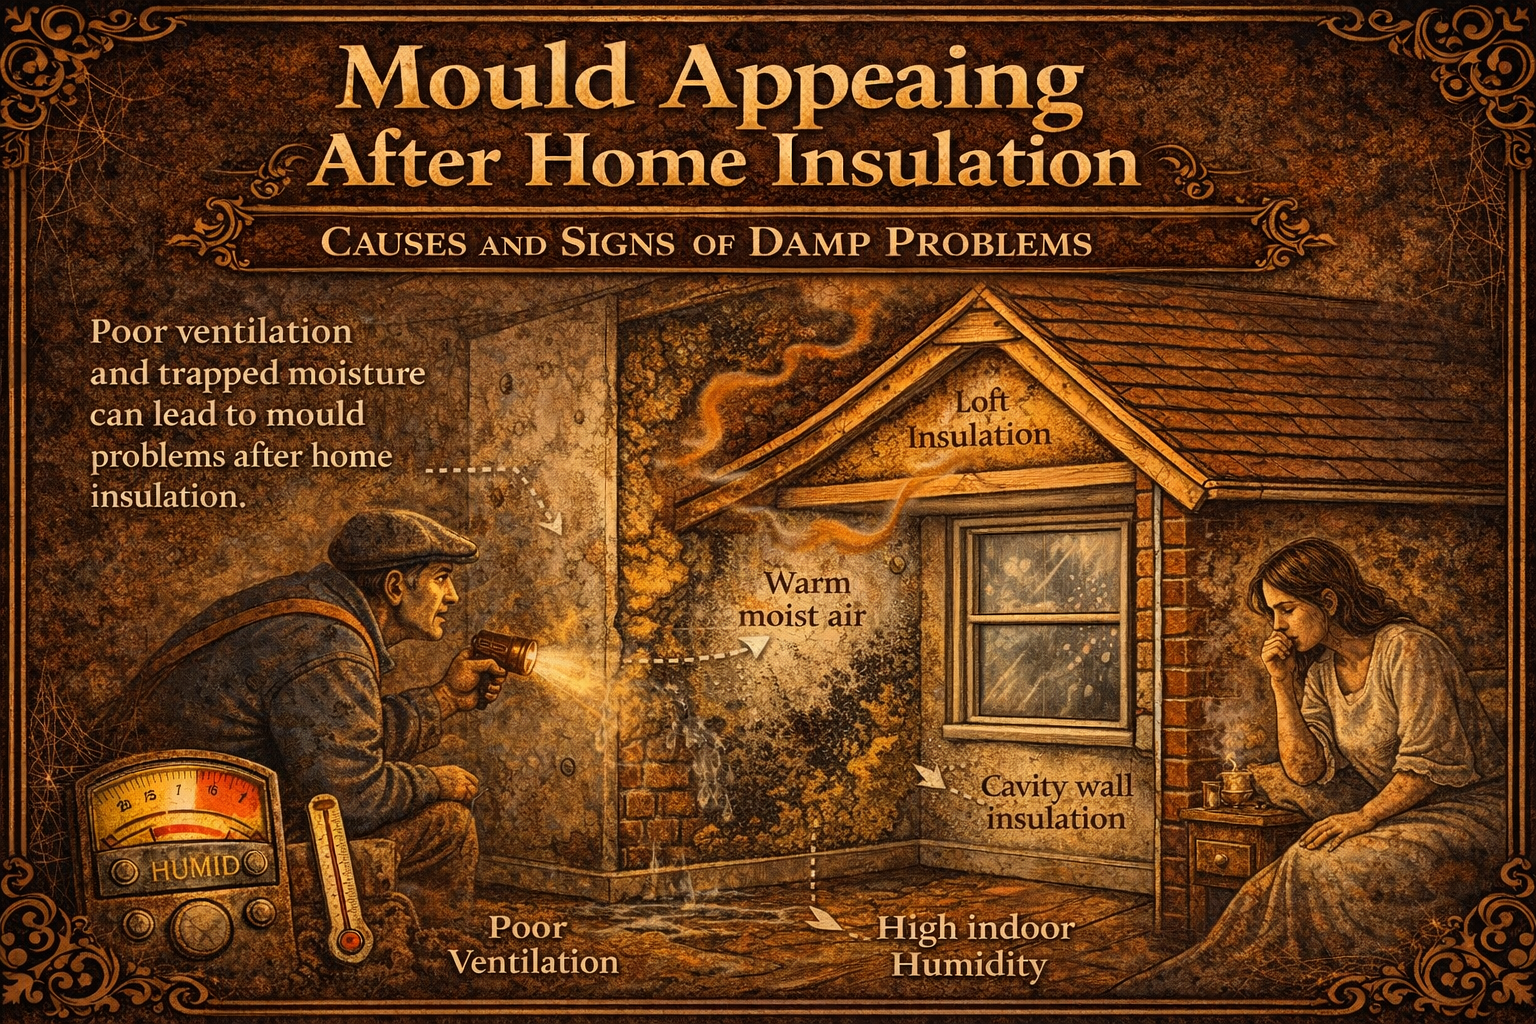
  • Mould Appearing After Home Insulation

    Mould Appearing After Home Insulation

    Home insulation upgrades are designed to improve energy efficiency and keep properties warmer. However, some homeowners notice mould growth appearing after insulation has been installed.

    This can occur when insulation changes the way heat, airflow and moisture move through the building. If ventilation is reduced or moisture becomes trapped, condensation can form on colder surfaces inside the home.

    Over time this moisture can lead to mould developing on walls, ceilings or around windows.

    Why Insulation Can Lead to Mould Problems

    Insulation improves the thermal performance of a building, but it can also make a home more airtight.

    When warm indoor air containing moisture cannot escape easily, humidity levels inside the home can increase. This moisture may condense on colder surfaces such as external walls or window frames.

    Common causes include:

    • reduced ventilation after insulation upgrades
    • trapped moisture within wall structures
    • poor installation of insulation materials
    • existing damp problems made worse by insulation

    In some cases the insulation itself can prevent walls from drying properly.

    Signs Mould Is Developing After Insulation

    Mould growth may begin in areas where condensation forms most easily.

    Typical warning signs include:

    These issues are often more noticeable during colder months when indoor humidity levels are higher.

    Homes Most Likely to Experience Problems

    Some properties are more susceptible to mould after insulation work.

    This may include:

    • older homes with solid walls
    • properties with limited ventilation
    • homes with high indoor humidity
    • buildings where insulation was poorly installed

    In these situations, insulation upgrades can unintentionally create conditions that allow condensation to develop.

    Preventing Mould After Insulation Upgrades

    Preventing mould growth usually involves managing moisture levels and improving airflow inside the home.

    Possible solutions include:

    • improving ventilation in kitchens and bathrooms
    • installing extractor fans or ventilation systems
    • maintaining steady indoor heating
    • reducing indoor humidity levels

    These measures help prevent moisture from accumulating on colder surfaces.

    When to Investigate Further

    If mould begins appearing soon after insulation has been installed, it may be worth investigating whether the insulation system is contributing to the problem.

    A professional survey can identify whether ventilation, moisture or installation issues are responsible and recommend appropriate solutions.

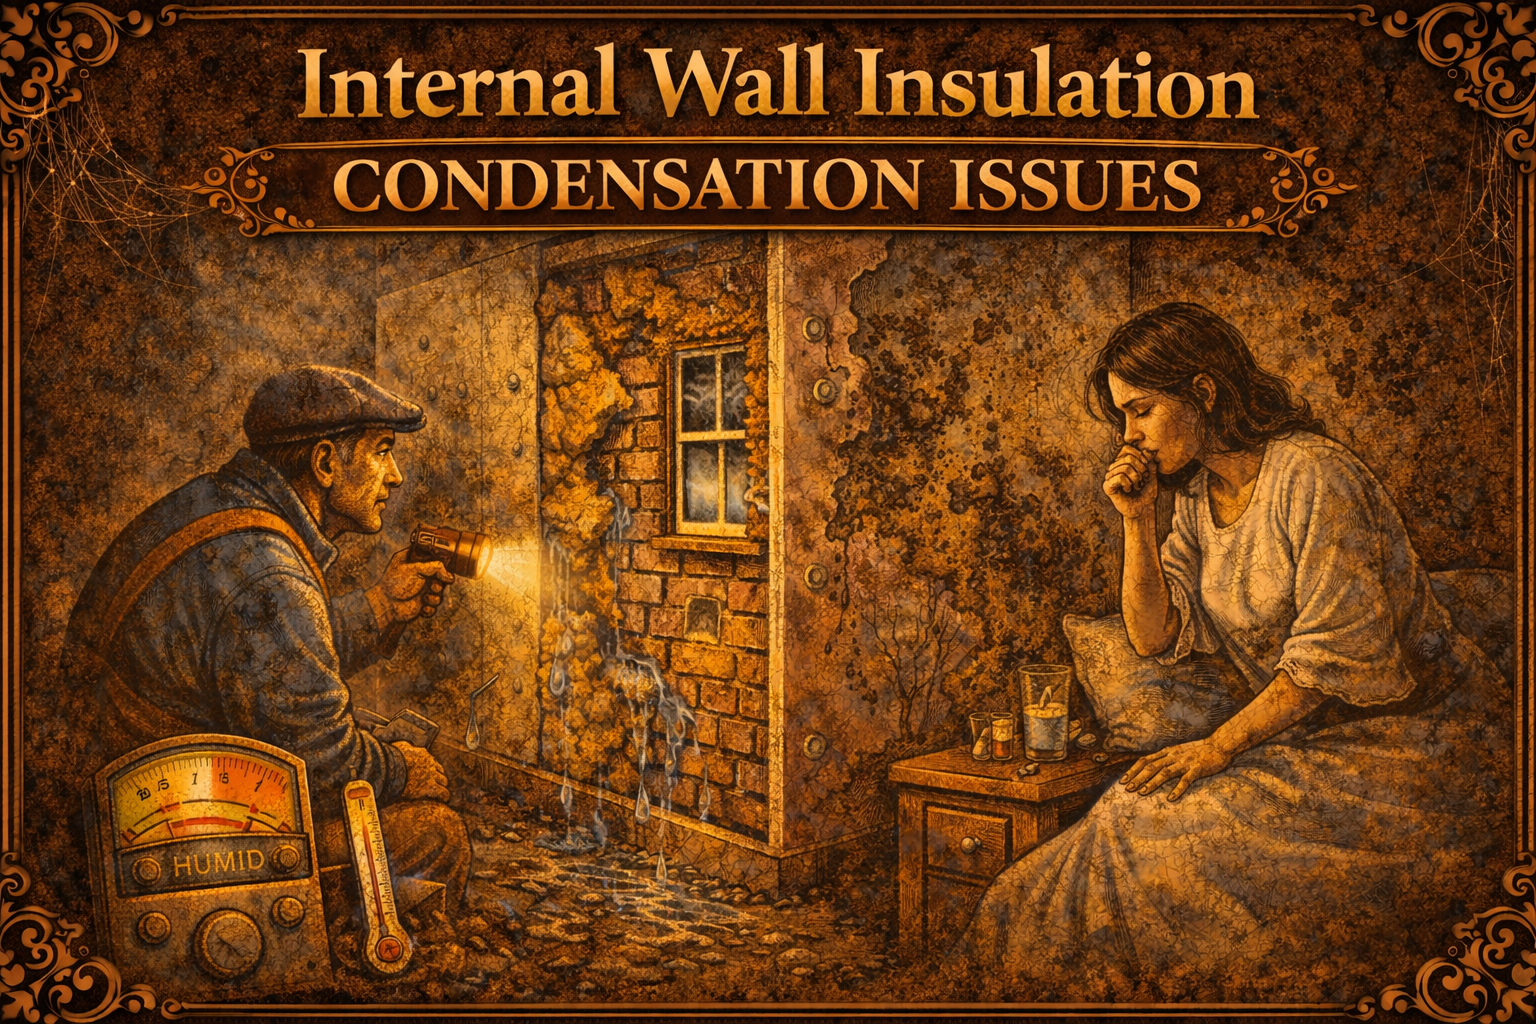
  • Internal Wall Insulation Condensation Issues

    Internal Wall Insulation Condensation Issues

    Internal wall insulation (IWI) is often used in older homes where external insulation is not possible. While it can improve thermal efficiency, it can also create condensation problems if moisture control is not properly managed.

    This occurs when warm indoor air meets colder surfaces within the wall structure.

    How Internal Wall Insulation Works

    Internal wall insulation involves fixing insulation boards or stud walls to the inside of external walls.

    These systems typically include:

    • insulation boards or mineral wool
    • vapour control layers
    • plasterboard finishing

    The aim is to prevent heat loss through solid walls.

    Why Condensation Problems Occur

    Condensation problems usually arise when moisture from the indoor air becomes trapped behind the insulation layer.

    Common causes include:

    When warm humid air reaches colder areas within the wall, condensation forms.

    Signs of Condensation Behind Insulated Walls

    Typical warning signs include:

    In some cases, condensation forms behind the insulation where it cannot be easily seen.

    Preventing Condensation With Internal Wall Insulation

    Proper installation is essential to prevent moisture problems.

    Good practice includes:

    • installing a vapour control layer
    • ensuring continuous insulation coverage
    • improving ventilation in rooms
    • controlling indoor humidity levels

    These measures help reduce the risk of condensation forming inside the wall.

    When to Investigate Further

    If condensation or mould appears after internal wall insulation is installed, the system may need to be inspected.

    A building surveyor can assess whether the insulation design is contributing to moisture problems.

    Early investigation can prevent hidden damp damage developing behind the insulation.

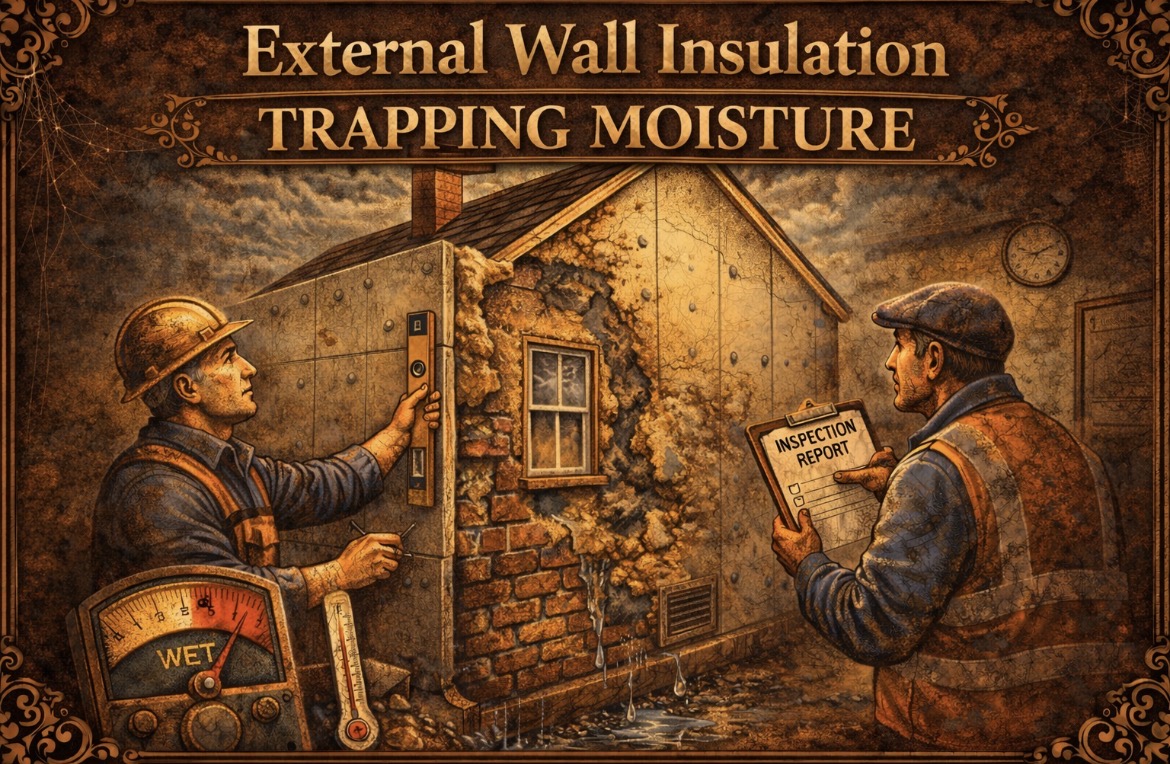
  • External Wall Insulation Trapping Moisture

    External Wall Insulation Trapping Moisture

    External wall insulation (EWI) is commonly installed as part of retrofit energy efficiency schemes. While it can improve thermal performance, poor installation or unsuitable buildings can result in moisture becoming trapped within the wall.

    This trapped moisture can lead to damp problems, mould growth and damage to internal walls.

    How External Wall Insulation Works

    External wall insulation involves attaching insulation boards to the outside of a property before covering them with render or cladding.

    The system typically includes:

    • insulation boards
    • reinforcing mesh
    • render coating
    • adhesive fixings

    When installed correctly, the system protects the building from weather while improving heat retention.

    Why Moisture Can Become Trapped

    Problems usually occur when the wall cannot dry out properly.

    This can happen if:

    Once the insulation is installed, moisture can become trapped between the insulation layer and the original wall.

    Signs External Wall Insulation Is Causing Damp

    Some homeowners notice new damp problems after retrofit work.

    Common signs include:

    These symptoms may indicate moisture is building up behind the insulation.

    Long Term Risks

    If moisture remains trapped, it can cause:

    • internal damp problems
    • structural timber decay
    • mould growth
    • deterioration of render systems

    Over time this can lead to expensive repairs.

    Investigating External Wall Insulation Problems

    If damp appears after external insulation has been installed, a professional inspection may be needed.

    Surveyors may check:

    • moisture levels in the wall
    • render condition
    • ventilation and drainage around the building

    Identifying the source of trapped moisture is essential before repairs are attempted.

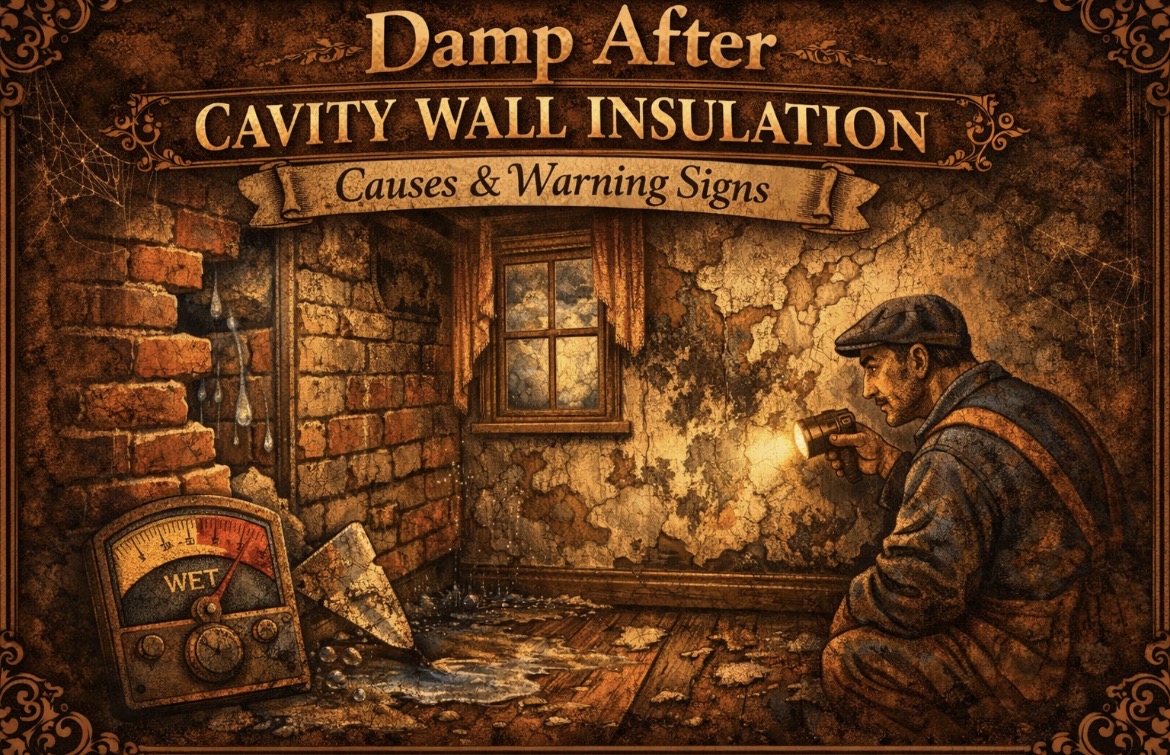
  • Damp After Cavity Wall Insulation

    Damp After Cavity Wall Insulation

    Cavity wall insulation can improve energy efficiency, but in some homes it can also cause serious damp problems. Many UK homeowners report damp patches, mould growth, and cold walls after insulation has been installed.

    This usually happens when moisture becomes trapped in the cavity or when the insulation material allows water to bridge across the wall.

    Understanding the causes can help identify whether cavity wall insulation is responsible for the problem.

    Why Cavity Wall Insulation Can Cause Damp

    Cavity walls were originally designed with an air gap between the inner and outer wall. This gap helps prevent rainwater from reaching the inside of the property.

    When insulation is injected into the cavity, this space is filled with material such as:

    • mineral wool
    • polystyrene beads
    • foam insulation

    If the property is exposed to heavy weather or the walls are unsuitable for insulation, the material can allow moisture to travel across the cavity.

    In some cases, the insulation itself can absorb water and hold it against the internal wall.

    Common Signs of Damp After Cavity Wall Insulation

    Homeowners often notice problems months or even years after installation.

    Typical signs include:

    The damp often appears on walls facing prevailing wind and rain.

    Homes Most at Risk

    Not every property is suitable for cavity wall insulation.

    Properties more likely to develop problems include:

    If these issues exist, rainwater can penetrate the outer wall and travel through the insulation.

    How to Fix Damp Caused by Cavity Wall Insulation

    Solutions depend on the severity of the problem.

    Possible remedies include:

    Improving external wall protection

    Repairing damaged brickwork or repointing mortar joints can help reduce water penetration.

    Installing better ventilation

    Reducing indoor humidity can help prevent mould growth.

    Removing the insulation

    In severe cases, contractors may recommend removing the cavity insulation entirely using specialist extraction equipment.

    This is sometimes the only permanent solution if the insulation is saturated with moisture.

    When to Seek Professional Advice

    If damp started appearing after cavity wall insulation was installed, a specialist survey may be needed to confirm the cause.

    A qualified surveyor can inspect the cavity and determine whether the insulation is contributing to the problem.

    Early investigation can prevent further damage to internal walls and finishes.