Category: Damp & Moisture

Export guides on damp and moisture problems in buildings, including rising damp, penetrating damp, condensation and mould. learn how to identify causes, understand treatment options.

  • Trickle Vents Missing From New Windows

    Trickle Vents Missing From New Windows

    Trickle vents are small ventilation openings built into the frames of many modern windows. They allow a controlled amount of fresh air to enter the property while maintaining security and energy efficiency.

    When new windows are installed without trickle vents, ventilation within the property may be reduced. This can lead to condensation problems, increased humidity, and mould growth.

    Why Trickle Vents Are Important

    Older windows often allowed small amounts of air to pass through gaps around the frames. While this caused drafts, it also helped remove moisture from inside the home.

    Modern double-glazed windows are designed to be airtight, which improves insulation but reduces natural airflow. Trickle vents provide a controlled way to replace the ventilation that would otherwise be lost.

    They allow fresh air to enter the property slowly without needing to open the window.

    Problems Caused by Missing Trickle Vents

    If new windows are installed without trickle vents, moisture produced inside the home may become trapped.

    This can lead to:

    These problems are often worse during winter when windows remain closed for long periods.

    Building Regulations and Trickle Vents

    In many cases, building regulations require replacement windows to include trickle vents, especially if the previous windows had them installed.

    This is because removing ventilation features can increase the risk of condensation and indoor air quality problems.

    Homeowners should check whether their replacement windows comply with current ventilation requirements.

    Solutions for Missing Trickle Vents

    If windows have been installed without trickle vents, ventilation can still be improved.

    Possible solutions include:

    These measures help restore airflow and reduce the risk of condensation and mould inside the property.
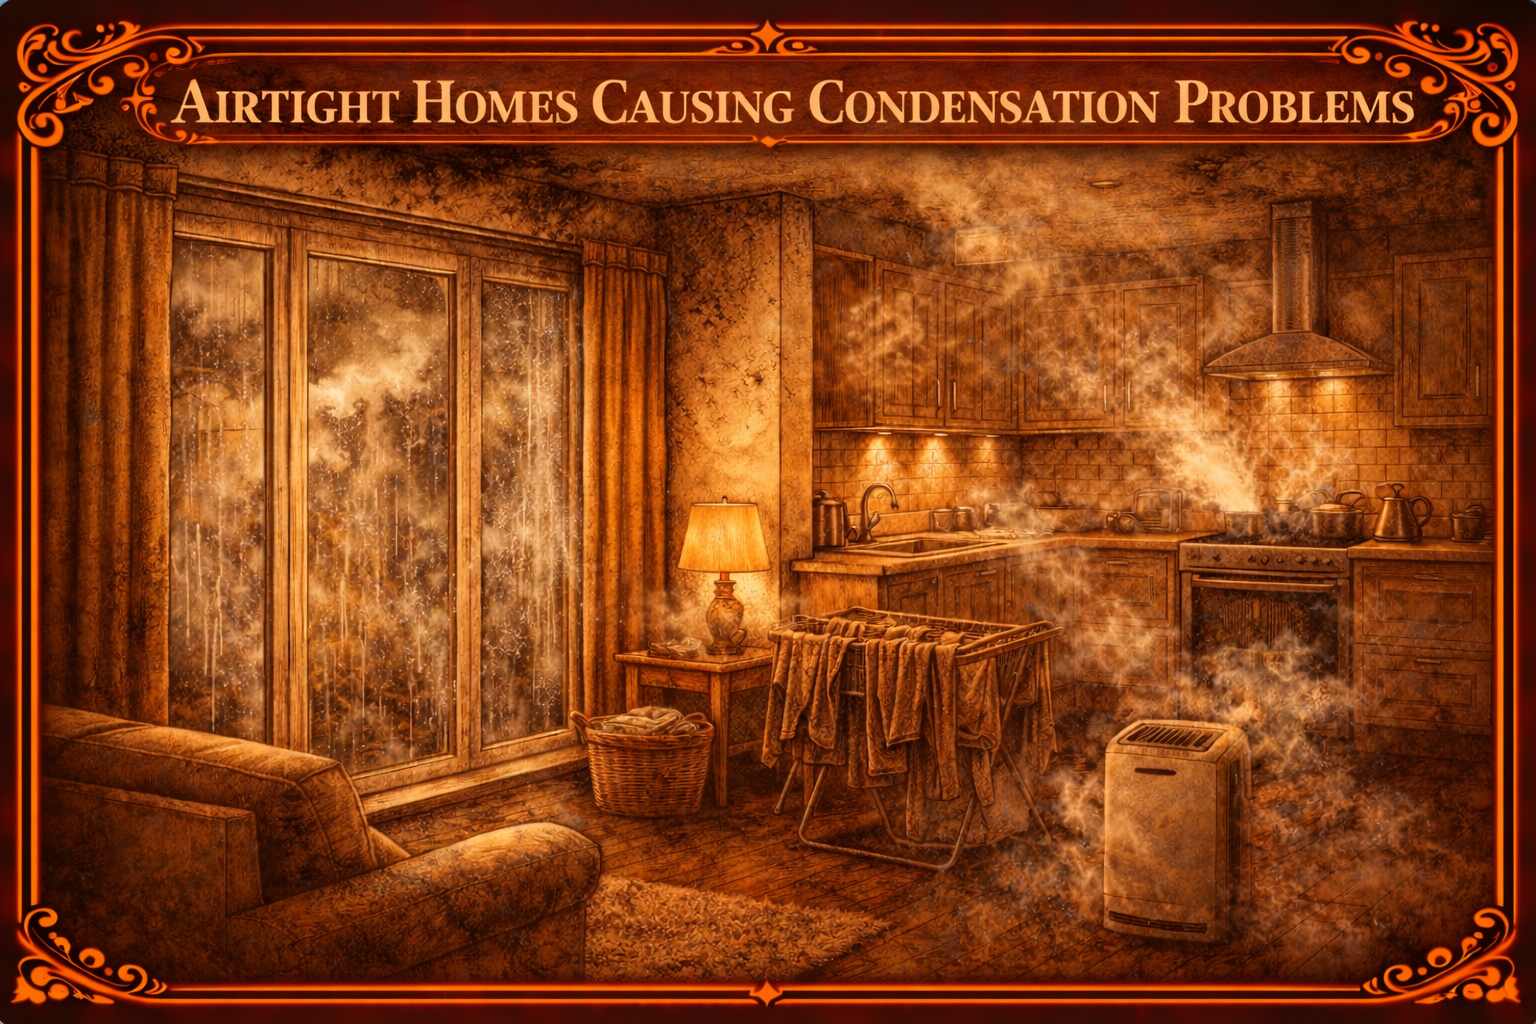
  • Airtight Homes Causing Condensation Problems

    Airtight Homes Causing Condensation Problems

    Modern building techniques often focus on creating airtight homes to improve energy efficiency. By reducing heat loss through gaps and drafts, airtight construction helps lower heating costs and improves comfort.

    However, if ventilation is not properly designed, airtight homes can develop condensation and moisture problems.

    Why Airtight Homes Can Cause Condensation

    In traditional buildings, small gaps in walls, floors, and windows allowed air to move naturally through the structure. While this meant heat was lost, it also allowed moisture to escape.

    Modern homes are designed to be far more airtight. This prevents warm air from escaping but also traps moisture inside the property.

    Everyday activities generate moisture, including:

    • Cooking
    • Showering
    • Breathing
    • Drying clothes indoors

    If this moisture cannot escape, humidity levels rise and condensation can form on cold surfaces.

    Signs of Condensation in Airtight Homes

    Condensation problems often appear gradually and may become worse during colder months.

    Common signs include:

    Bedrooms and bathrooms are often the most affected rooms because they generate high levels of moisture.

    The Importance of Ventilation

    Airtight homes require effective ventilation systems to remove excess moisture.

    This may include:

    These systems ensure that fresh air enters the property while humid air is removed.

    Managing Condensation in Airtight Homes

    To reduce condensation problems, homeowners should ensure ventilation systems are working correctly and used regularly.

    Opening windows when possible, using extractor fans during cooking or showering, and avoiding drying clothes indoors can also help reduce moisture levels.

    Proper ventilation allows airtight homes to remain energy efficient while maintaining healthy indoor air quality.

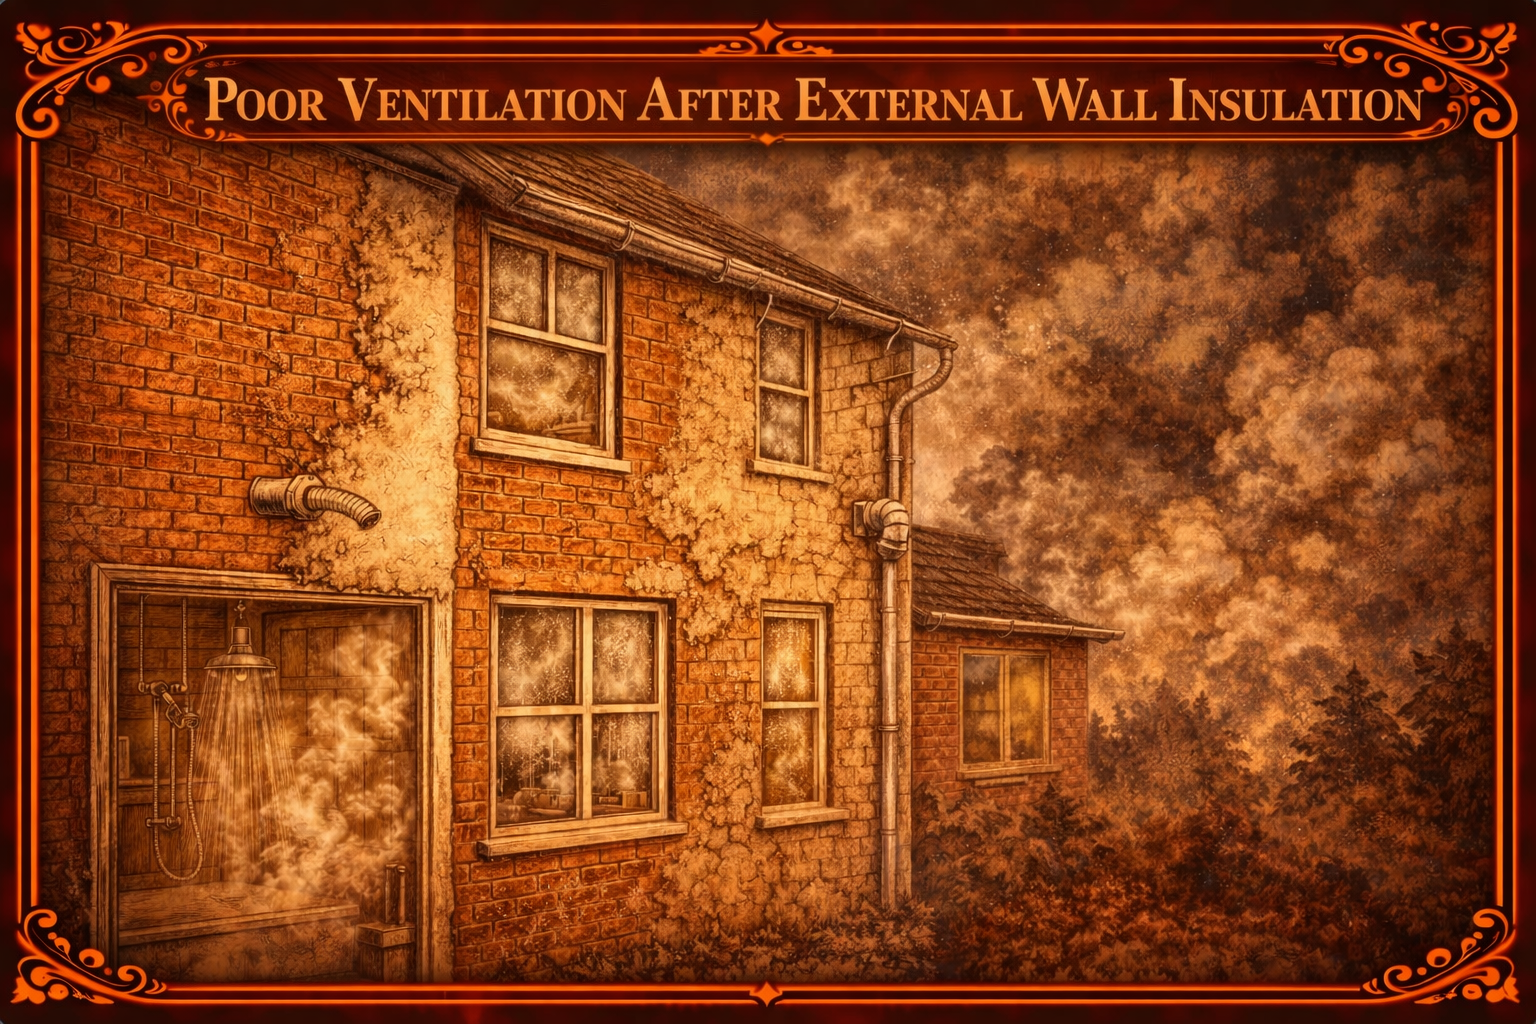
  • Poor Ventilation After External Wall Insulation

    Poor Ventilation After External Wall Insulation

    External wall insulation (EWI) is commonly installed to improve a property’s energy efficiency and reduce heat loss. While it can significantly improve thermal performance, it can sometimes create ventilation problems if airflow within the property is reduced.

    Homes that previously relied on natural air leakage through walls and gaps may become much more airtight after insulation is installed. When this happens, moisture produced inside the home can become trapped, leading to condensation, damp patches, and mould growth.

    Why External Wall Insulation Can Reduce Ventilation

    External wall insulation works by adding a thick insulating layer to the outside of the building. This layer is usually finished with render or cladding.

    While this helps keep heat inside the home, it can also reduce the small gaps and air pathways that previously allowed moisture to escape. As a result, humid air from everyday activities such as cooking, showering, and drying clothes can build up inside the property.

    Without sufficient ventilation, moisture levels rise and condensation may start forming on colder surfaces such as windows, corners of rooms, and behind furniture.

    Common Signs of Ventilation Problems After EWI

    Poor ventilation after external wall insulation may cause several noticeable issues inside the property.

    These can include:

    • Condensation forming on windows
    • Mould growth on walls or ceilings
    • Damp or musty smells indoors
    • Black mould in corners of rooms
    • Increased humidity levels

    These problems are often mistaken for rising damp or penetrating damp, but they are usually caused by trapped moisture and insufficient airflow.

    How to Prevent Ventilation Problems

    Proper ventilation should always be considered when installing external wall insulation.

    Common solutions include:

    These measures help remove moist air from the property and maintain a healthy indoor environment.

    When to Seek Professional Advice

    If condensation or mould problems develop after external wall insulation has been installed, it may be necessary to assess the property’s ventilation system.

    A building surveyor or ventilation specialist can identify whether airflow improvements are required and recommend suitable solutions.

    Addressing ventilation issues early can help prevent long-term damp problems and maintain the benefits of the insulation.

  • Weak Extractor Fan Causing Mould

    Weak Extractor Fan Causing Mould

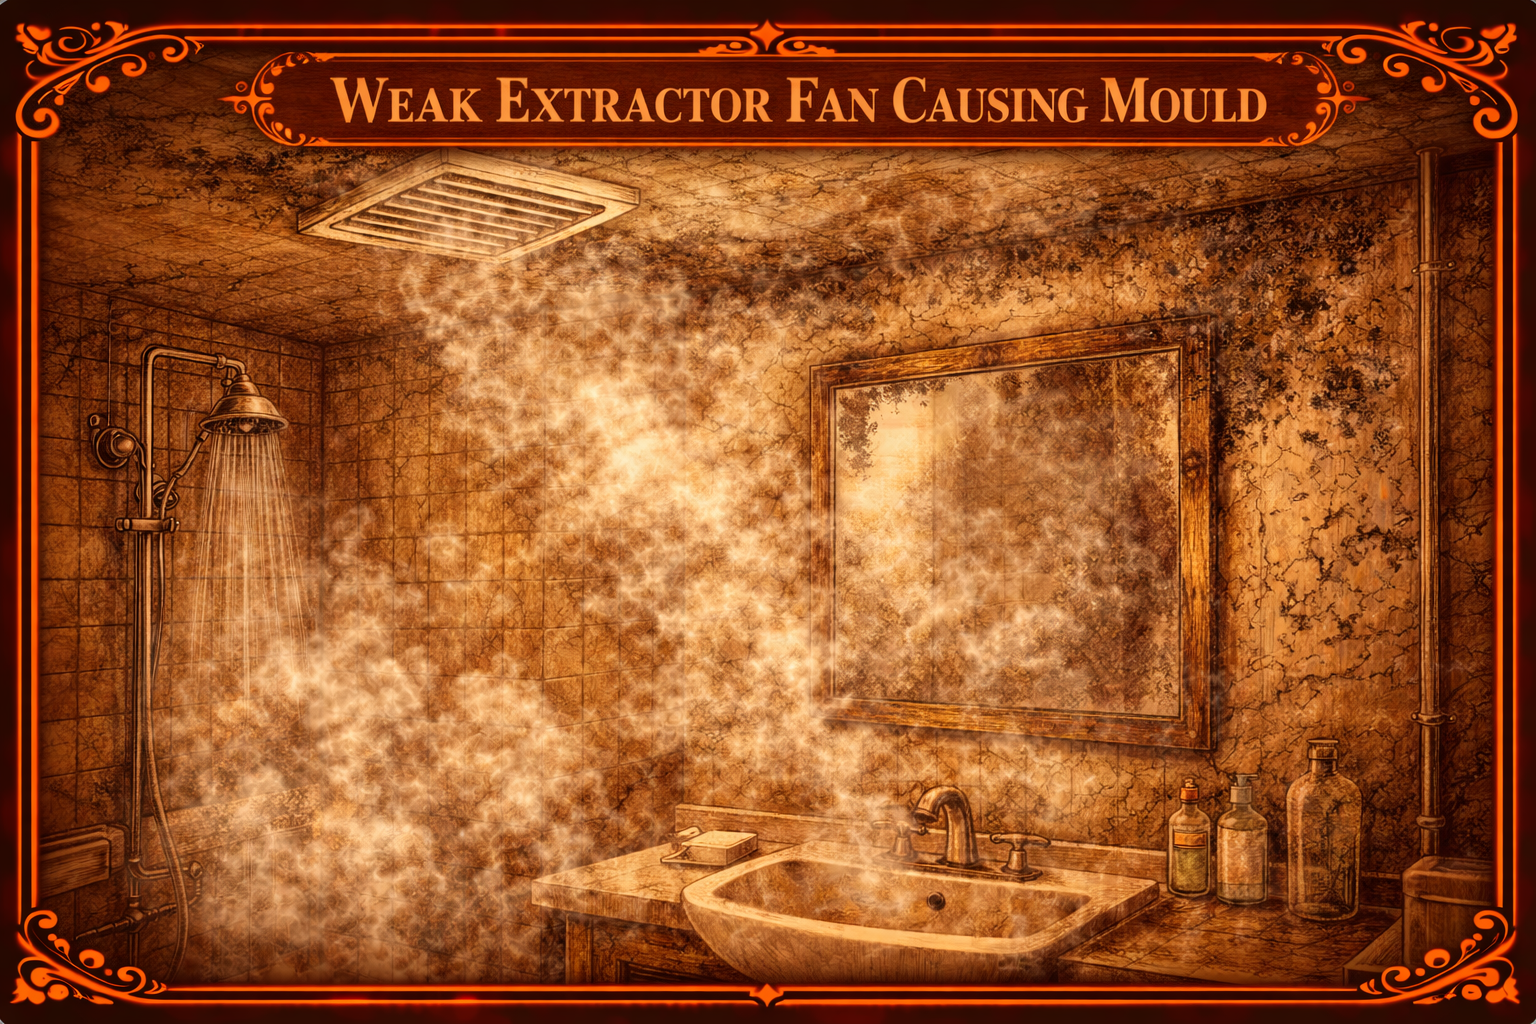
    Extractor fans are an important part of household ventilation systems. They remove humid air produced by activities such as showering, bathing, and cooking.

    If an extractor fan is too weak or ineffective, it may not remove moisture quickly enough. As a result, humid air remains in the room and can condense on cold surfaces.

    Over time this moisture build-up can encourage mould growth on ceilings, walls, and window frames.

    Signs the Extractor Fan Is Too Weak

    Several signs may indicate that an extractor fan is not powerful enough to ventilate the room properly.

    Common indicators include:

    • Steam lingering in the bathroom after showers
    • Condensation forming on mirrors and windows
    • Damp patches appearing on ceilings or walls
    • Mould forming in corners or around window frames
    • The fan running but producing little noticeable airflow

    If moisture remains in the room for long periods, ventilation may be inadequate.

    Why Extractor Fans Become Weak

    Extractor fans can become ineffective for several reasons.

    Older fans may simply lack the airflow capacity needed for modern homes. Fans installed many years ago often have lower extraction rates than modern models.

    Blocked vents, dust build-up on fan blades, or long duct runs can also reduce airflow.

    In some cases the fan may be poorly positioned within the room, reducing its ability to remove humid air efficiently.

    How To Fix a Weak Extractor Fan

    Improving ventilation usually involves upgrading to a more powerful extractor fan designed for the size of the room.

    Modern fans often include features such as:

    • Higher airflow capacity
    • Humidity sensors that activate automatically
    • Timers that keep the fan running after use

    Ensuring the fan vents outside through properly installed ducting will also improve performance and help reduce mould risk.

  • Bathroom Extractor Fan Venting Into Loft

    Bathroom Extractor Fan Venting Into Loft

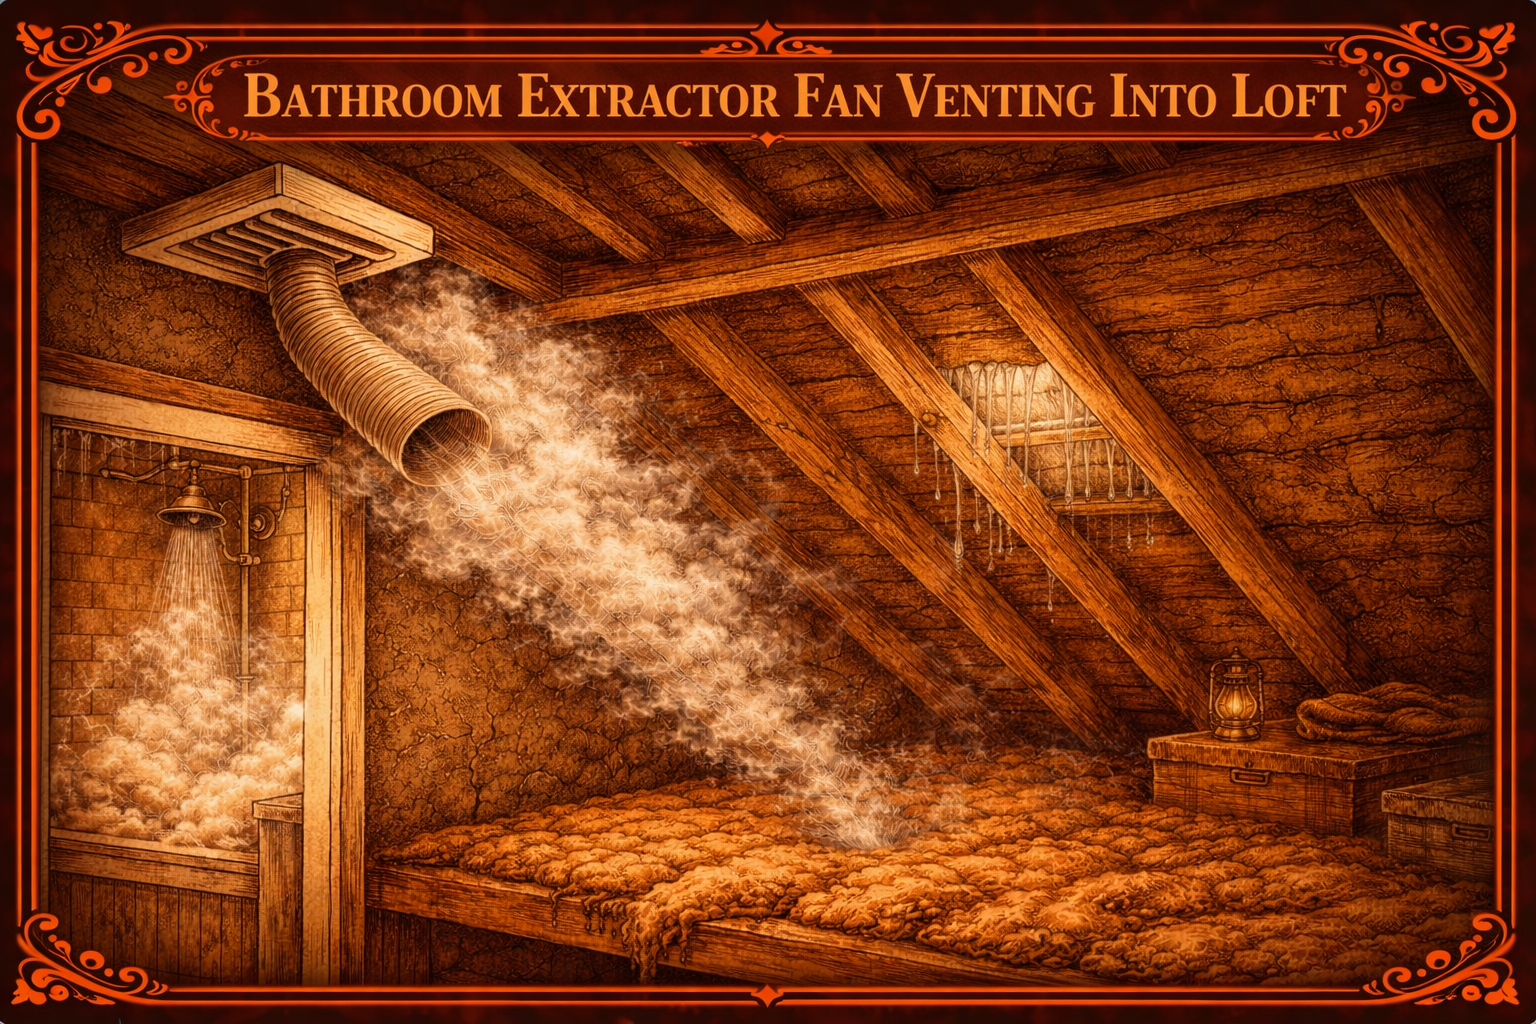
    Bathroom extractor fans are designed to remove humid air created by showers, baths and hot water use. This moisture-laden air should be vented directly outside the property through a roof vent, soffit vent, or external wall vent.

    However, in many homes the ducting from the bathroom extractor fan simply ends inside the loft instead of venting outside. While the fan may appear to be working normally, it is actually pumping warm, moist air into the roof space.

    Over time this can lead to significant moisture build-up in the loft, creating conditions that encourage condensation, mould growth, and timber damage.

    Why Venting Into the Loft Causes Problems

    Warm air holds more moisture than cold air. When steam from a bathroom is blown into a cold loft space, the warm air quickly cools down.

    As the air cools, the moisture it contains condenses onto nearby surfaces such as roof felt, rafters, and nails.

    This process can result in:

    • Water droplets forming on the underside of roof felt
    • Damp or flattened loft insulation
    • Mould growth on roof timbers
    • Rusting nails and metal fixings
    • Musty smells in the loft space

    During colder months this condensation can become severe, sometimes leading homeowners to believe their roof is leaking.

    Signs the Extractor Fan Is Venting Into the Loft

    Several signs may indicate that a bathroom extractor fan is discharging into the loft rather than outside.

    Common indicators include:

    • Visible flexible ducting ending in the loft space
    • Damp patches on loft insulation near the duct outlet
    • Condensation on roof timbers during winter
    • Black mould appearing on rafters or felt
    • Water droplets forming on the underside of the roof

    If the problem continues for long periods, timber structures in the loft can begin to deteriorate.

    Why This Happens

    There are several reasons why bathroom fans end up venting into loft spaces.

    In some cases the fan was installed during a renovation but the external vent was never fitted. Installers may leave the duct temporarily in the loft and it is never completed.

    Other times the ducting may have become disconnected from a roof vent or external outlet over time.

    Poor installation practices are a common cause, particularly when flexible ducting is not secured properly.

    How To Fix Bathroom Extractor Fans Venting Into Lofts

    The correct solution is to ensure the extractor fan vents directly outside the building.

    This usually involves installing:

    • A roof tile vent connected to the fan duct
    • A soffit vent installed beneath the roof overhang
    • An external wall vent

    The duct should be sealed properly and ideally insulated to reduce condensation forming inside the pipe.

    Once the moist air is directed outside the property, condensation problems in the loft should reduce significantly.

  • Condensation Dripping From Roof Felt

    Condensation Dripping From Roof Felt

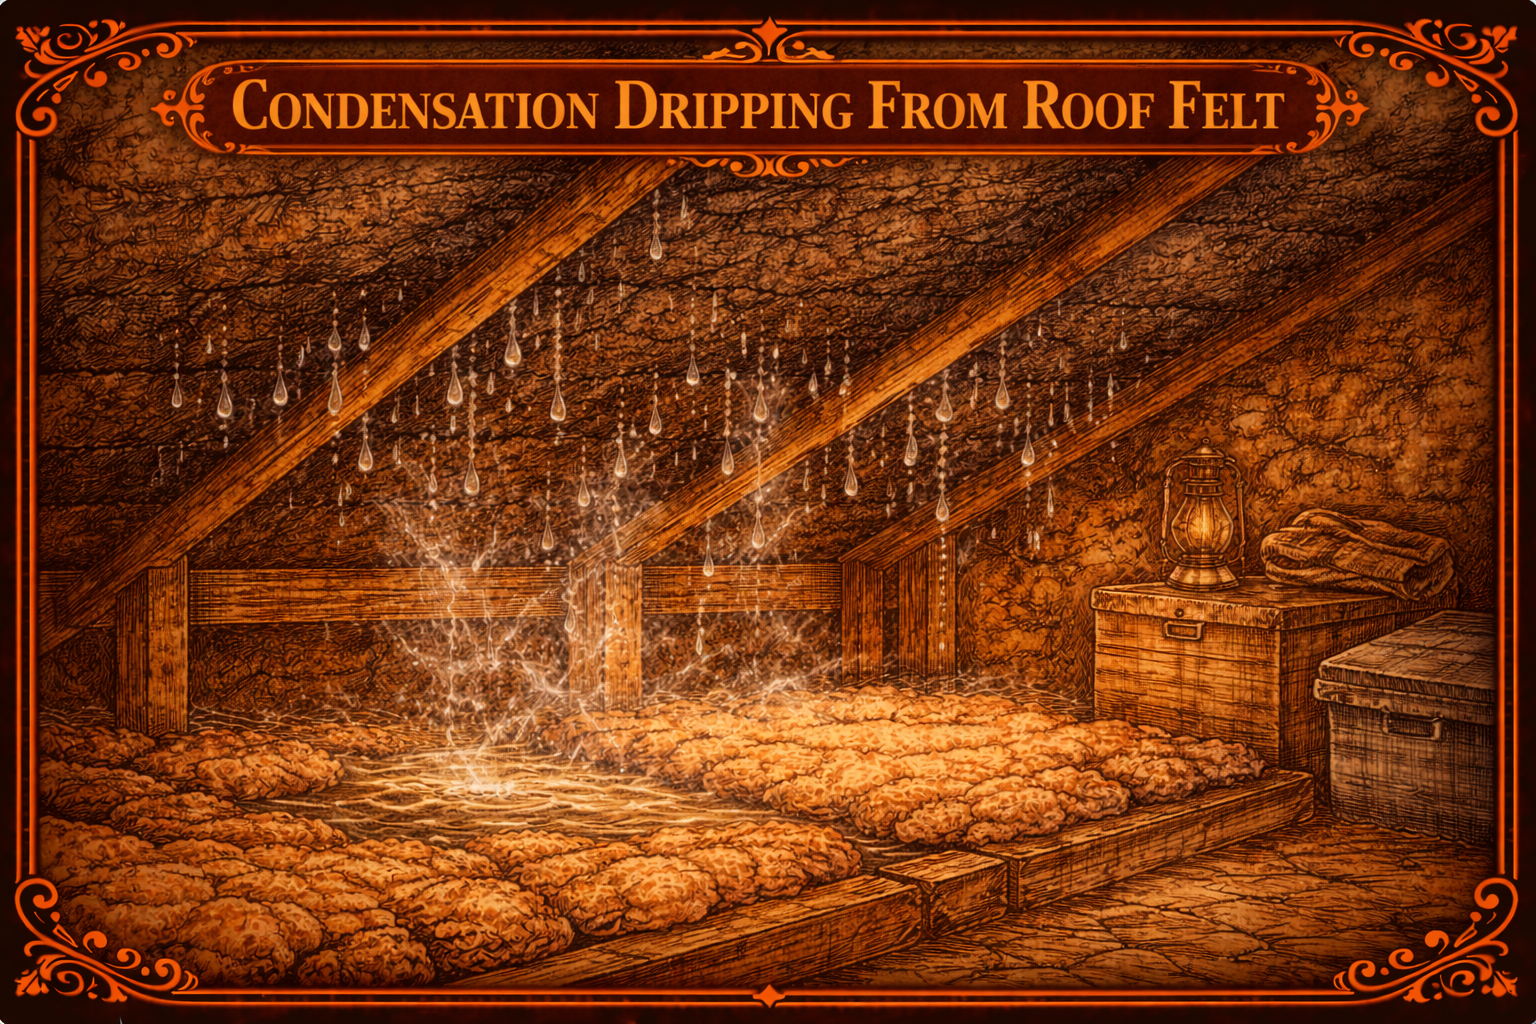
    Condensation dripping from roof felt is a common issue in loft spaces, particularly during colder months. It occurs when warm, moisture-laden air from inside the home rises into the loft and condenses on the underside of the cold roofing felt. As the moisture builds up, droplets can form and eventually drip onto insulation, ceilings, or stored items in the loft.

    This problem is often mistaken for a roof leak, but in many cases the roof covering itself is not damaged. Instead, the moisture is created from condensation caused by poor ventilation or excessive humidity within the property.

    Warm air naturally holds more moisture than cold air. Everyday activities such as cooking, showering, drying clothes indoors, and even breathing produce moisture that circulates throughout the home. When this warm air rises into the loft and meets the cold surface of the roof felt, the temperature difference causes the moisture to condense into water droplets.

    Signs of this issue may include visible droplets on the underside of the felt, damp insulation, or water marks appearing on loft timbers. Homeowners may also notice dripping sounds in the loft during cold mornings when condensation levels are highest.

    Poor ventilation is one of the main causes of condensation forming on roof felt. Without adequate airflow, moist air becomes trapped in the loft space and cannot escape. This allows humidity levels to rise and increases the likelihood of condensation forming.

    Blocked soffit vents, missing roof vents, or insulation covering ventilation pathways can all contribute to this problem. In some cases, extractor fans from bathrooms or kitchens may also vent directly into the loft rather than outside, introducing large amounts of moist air into the space.

    Addressing condensation dripping from roof felt usually involves improving ventilation within the loft. Installing soffit vents, roof vents, or ridge vents can help create airflow that removes moist air and reduces humidity levels.

    It is also important to ensure extractor fans vent directly outside rather than into the loft space. Sealing gaps around loft hatches and ceiling fittings can further reduce the amount of warm air entering the loft.

    By improving ventilation and reducing moisture levels, condensation on roof felt can usually be resolved. Addressing the issue early helps prevent mould growth, damp insulation, and long-term damage to the roof structure.

  • Missing Air Bricks in Older Houses

    Missing Air Bricks in Older Houses

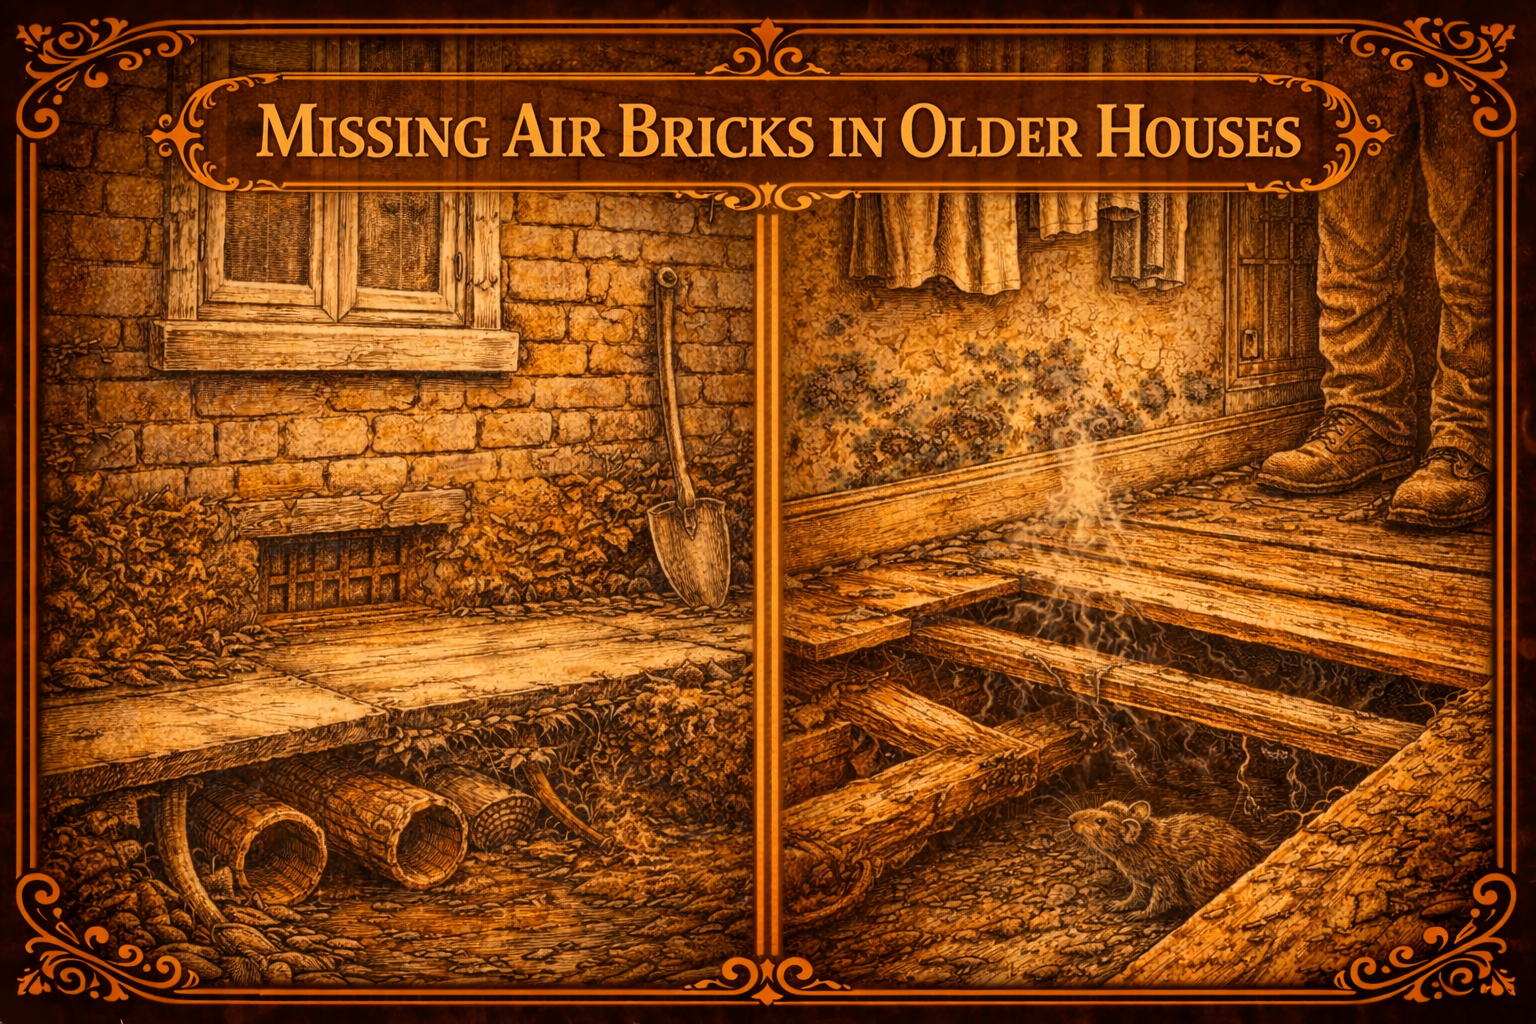
    Air bricks are designed to provide ventilation to areas of a property where moisture can accumulate, particularly beneath suspended timber floors or within wall cavities. In many older houses, however, air bricks may be missing, insufficient in number, or installed incorrectly. This can result in poor airflow and increased risk of damp problems.

    Older homes often rely on natural ventilation to keep moisture levels under control. Suspended timber floors, which are common in properties built before the mid-20th century, require airflow beneath them to prevent moisture from building up. Air bricks are typically installed in external walls to allow fresh air to circulate through the subfloor space.

    If air bricks are missing or blocked, moisture from the ground beneath the property can accumulate. This can create a damp environment that encourages mould growth and timber decay. Over time, floor joists and floorboards may begin to rot, potentially leading to structural damage if the issue remains unresolved.

    In some cases, air bricks may have been removed during renovations or external works. For example, wall insulation, rendering, landscaping, or driveway installations may cover or remove ventilation openings without proper replacement. This can unintentionally seal the subfloor space and reduce airflow.

    Older houses may also suffer from poorly distributed ventilation. A small number of air bricks may have been installed originally, but these may not provide adequate airflow across the entire subfloor area. Without proper cross ventilation, some areas may remain damp and poorly ventilated.

    Signs that a property may have insufficient air bricks include damp smells, condensation beneath floors, mould growth near skirting boards, or floors that feel cold and humid. In more serious cases, timber floor structures may begin to weaken due to prolonged exposure to moisture.

    Identifying missing air bricks usually requires inspecting the exterior walls of the property. Ventilation openings should typically be spaced at regular intervals along external walls to allow consistent airflow beneath the floor.

    Where ventilation is inadequate, additional air bricks or subfloor ventilation systems may be installed to improve airflow. This can help reduce moisture levels and protect the structural timber components beneath the property.

    Ensuring adequate ventilation beneath older homes is an important step in preventing damp problems and maintaining the long-term health of the building.

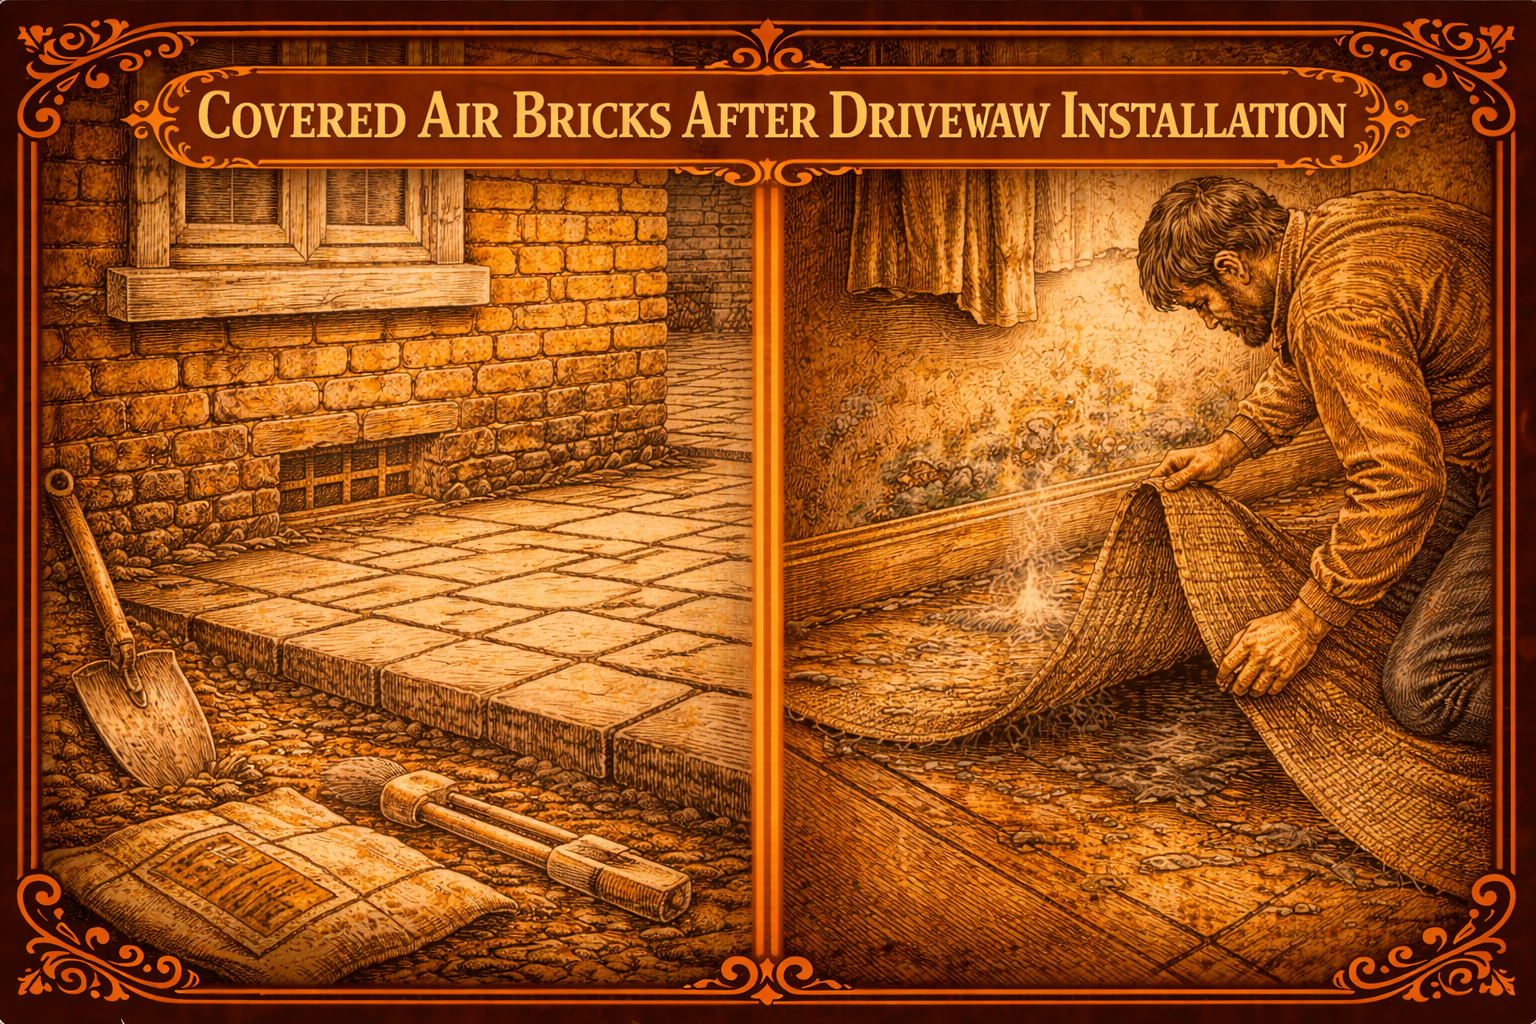
  • Covered Air Bricks After Driveway Installation

    Covered Air Bricks After Driveway Installation

    Air bricks are designed to provide ventilation to areas of a property such as suspended timber floors or wall cavities. However, during home improvement projects such as driveway installations, patios, or paving work, these vents can sometimes become covered or partially blocked. When this happens, airflow is reduced and moisture may begin to accumulate.

    One of the most common causes of covered air bricks is the installation of new driveways or external paving that raises the ground level around the property. If the new surface is installed too high, it can cover the air brick completely or restrict airflow into the vent.

    Air bricks are typically positioned above the original ground level to allow fresh air to circulate beneath the property. When external surfaces are raised above this level, ventilation openings can become buried or blocked, preventing proper airflow.

    Without adequate ventilation beneath suspended floors, moisture from the ground can become trapped. This damp environment can lead to mould growth, timber decay, and musty smells inside the home. Over time, wooden floor structures such as joists and floorboards may begin to deteriorate.

    In some cases, homeowners may not realise that driveway or patio work has blocked ventilation openings. The problem may only become apparent months or years later when signs of dampness begin to appear inside the property.

    Typical warning signs include damp patches near the base of walls, condensation beneath floors, or a persistent musty smell inside the house. In properties with suspended timber floors, floorboards may also begin to feel soft or uneven as timber becomes damaged by moisture.

    Checking whether air bricks have been covered usually involves inspecting the external walls of the property. Air bricks should remain clearly visible and positioned above the surrounding ground level.

    If air bricks have been covered by new paving or driveway installations, modifications may be required to restore ventilation. This may involve lowering ground levels around the vent or installing extension vents that raise the airflow opening above the new surface level.

    Ensuring air bricks remain clear and unobstructed is essential for maintaining proper ventilation beneath the property and preventing moisture-related damage.

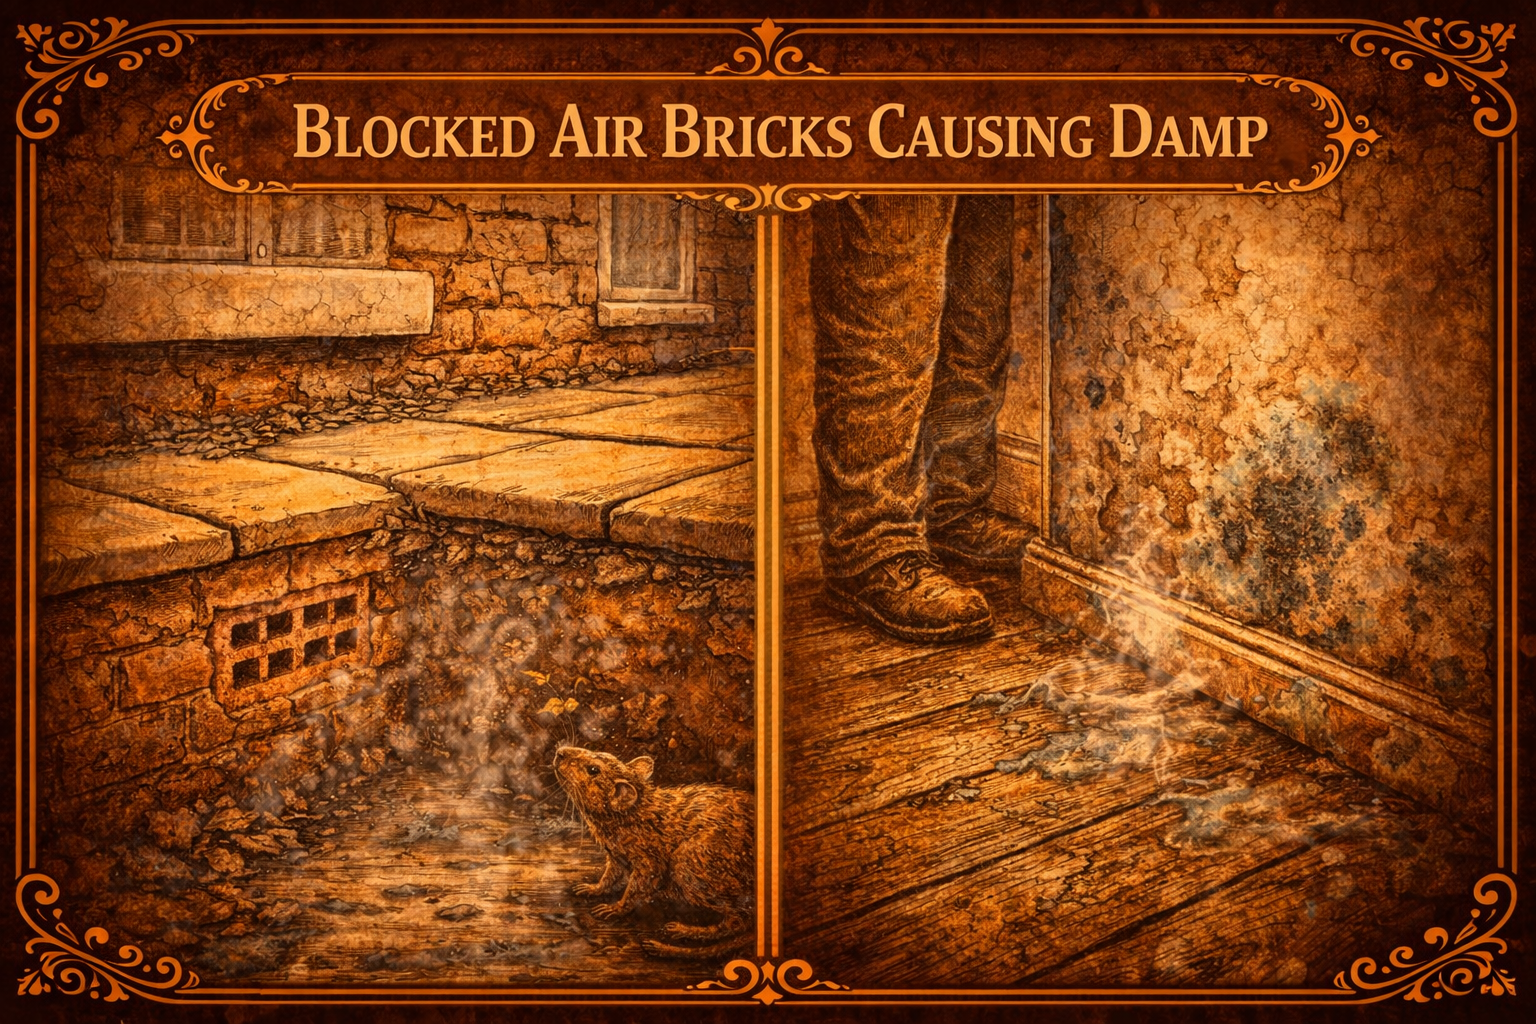
  • Blocked Air Bricks Causing Damp

    Blocked Air Bricks Causing Damp

    Air bricks are small vents installed in the external walls of many homes to allow air to circulate beneath suspended timber floors or inside wall cavities. When these vents become blocked, airflow is restricted and moisture can begin to build up. Over time, this trapped moisture can lead to damp problems, timber decay, and poor air quality inside the property.

    One of the most common causes of blocked air bricks is external ground levels being raised. This can happen when patios, driveways, garden soil, or paving are installed too high against the wall of the house. If the air brick becomes partially or completely covered, the ventilation it provides is significantly reduced or stopped altogether.

    Another common issue is debris blocking the vent itself. Leaves, dirt, insect nests, and cobwebs can accumulate inside air bricks, particularly if they have not been inspected for a long time. In some cases, insulation or building materials inside the property may also block the internal side of the vent.

    When airflow beneath a suspended floor is reduced, moisture from the ground can become trapped under the floorboards. This creates a damp environment that can encourage mould growth and timber rot. Over time, wooden floor joists and floorboards may begin to deteriorate, potentially leading to structural problems if the issue is not addressed.

    Signs of blocked air bricks causing damp may include musty smells, damp patches near the base of walls, or a cold and humid atmosphere inside the home. In properties with suspended timber floors, occupants may also notice floors becoming soft, uneven, or creaky as timber begins to deteriorate.

    Identifying blocked air bricks usually involves inspecting the exterior of the property. Air bricks should be visible and positioned above the ground level, allowing clear airflow into the wall or subfloor area. If they appear buried, blocked, or covered by external surfaces, ventilation may be restricted.

    In many cases the solution is relatively straightforward. Clearing debris from air bricks and ensuring that ground levels remain below the vent openings can restore proper airflow. Protective grilles or covers may also be installed to prevent future blockages from insects or debris.

    Maintaining clear air bricks is an important part of preventing damp and moisture-related problems in homes with suspended floors or ventilated cavities.

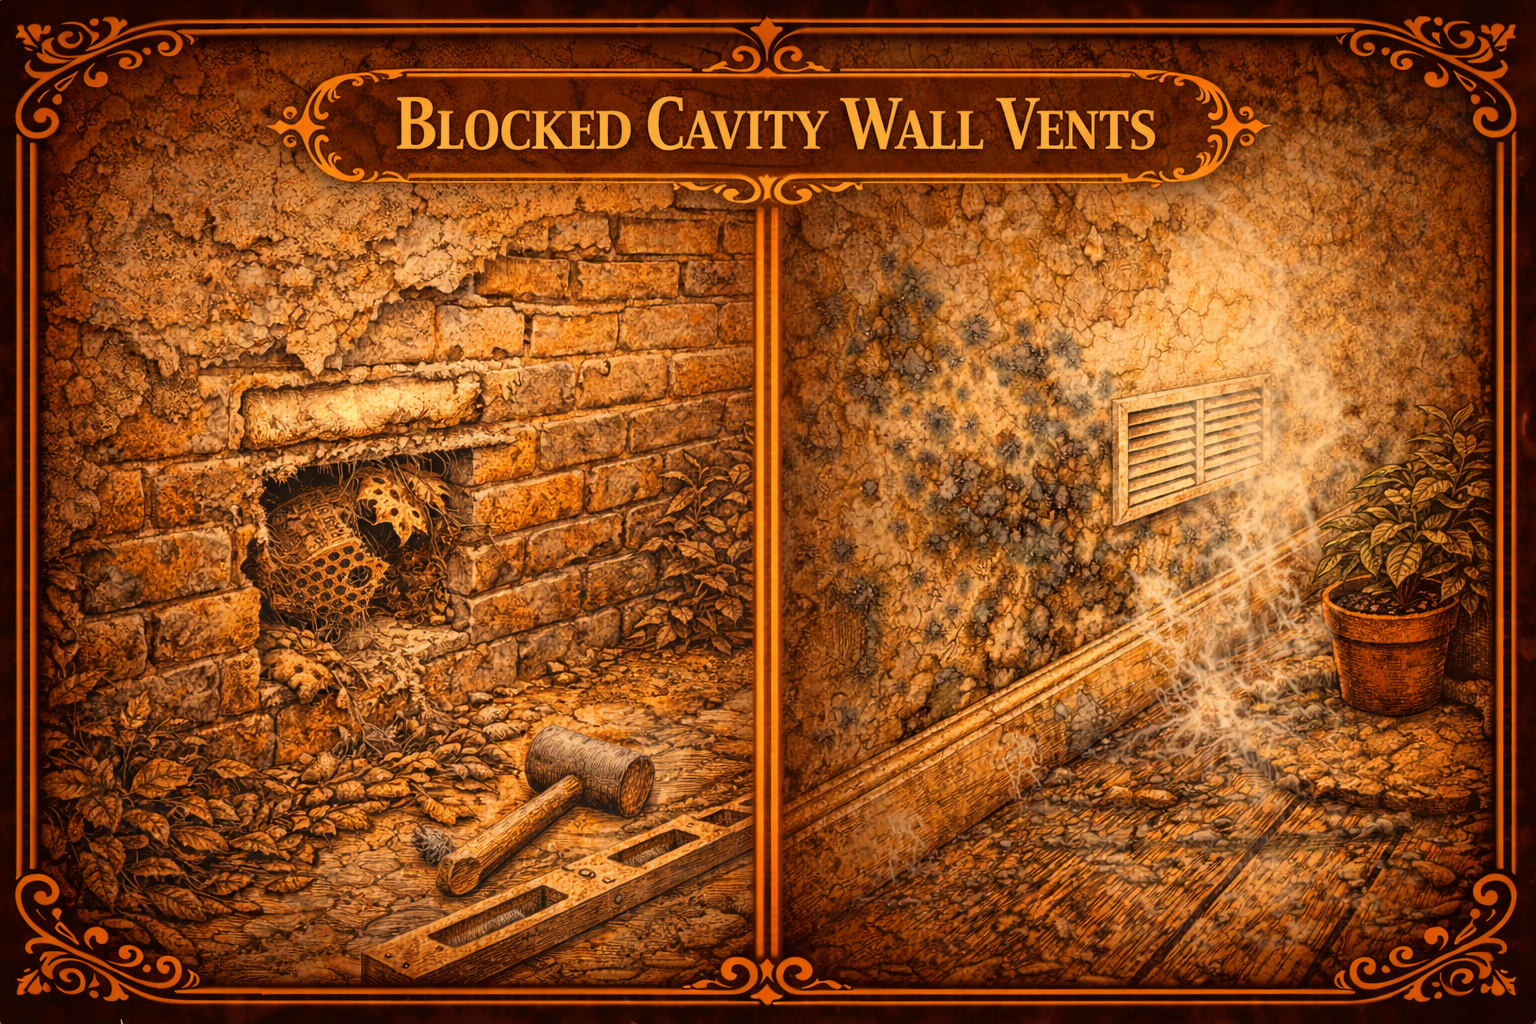
  • Blocked Cavity Wall Vents

    Blocked Cavity Wall Vents

    Cavity wall vents are designed to allow airflow within the cavity space between the inner and outer walls of a building. These vents help remove moisture and reduce the risk of damp problems developing inside the wall structure. When cavity wall vents become blocked, airflow is restricted and moisture may begin to accumulate.

    Cavity walls are commonly used in modern construction to improve insulation and reduce moisture penetration from outside walls. However, the cavity space still requires ventilation to allow moisture to escape. Vents installed at the top and bottom of walls help maintain airflow through the cavity.

    Blocked cavity wall vents can occur for a variety of reasons. Dirt, debris, insect nests, or building materials may obstruct the ventilation openings. In some cases, external renovations such as rendering, insulation installation, or landscaping work may accidentally cover or block the vents.

    When airflow inside the cavity is restricted, moisture can become trapped between the walls. This may eventually lead to damp patches appearing on internal walls or cause insulation materials inside the cavity to become wet.

    Over time, trapped moisture can also affect the structural materials within the wall. Brickwork, mortar, and insulation may deteriorate if exposed to prolonged damp conditions.

    Signs of blocked cavity wall vents may include damp patches on internal walls, mould growth near corners, or a musty smell within certain rooms of the property. In some cases, external walls may also show signs of moisture staining.

    Inspecting cavity wall vents usually involves checking the external walls of the property for visible ventilation openings. These vents should remain clear and unobstructed to allow air to move freely through the cavity.

    Clearing debris or removing obstructions from cavity wall vents can help restore airflow and reduce moisture levels inside the wall structure. Regular inspection of ventilation openings can help prevent damp problems from developing in the future.