Category: Damp Patches

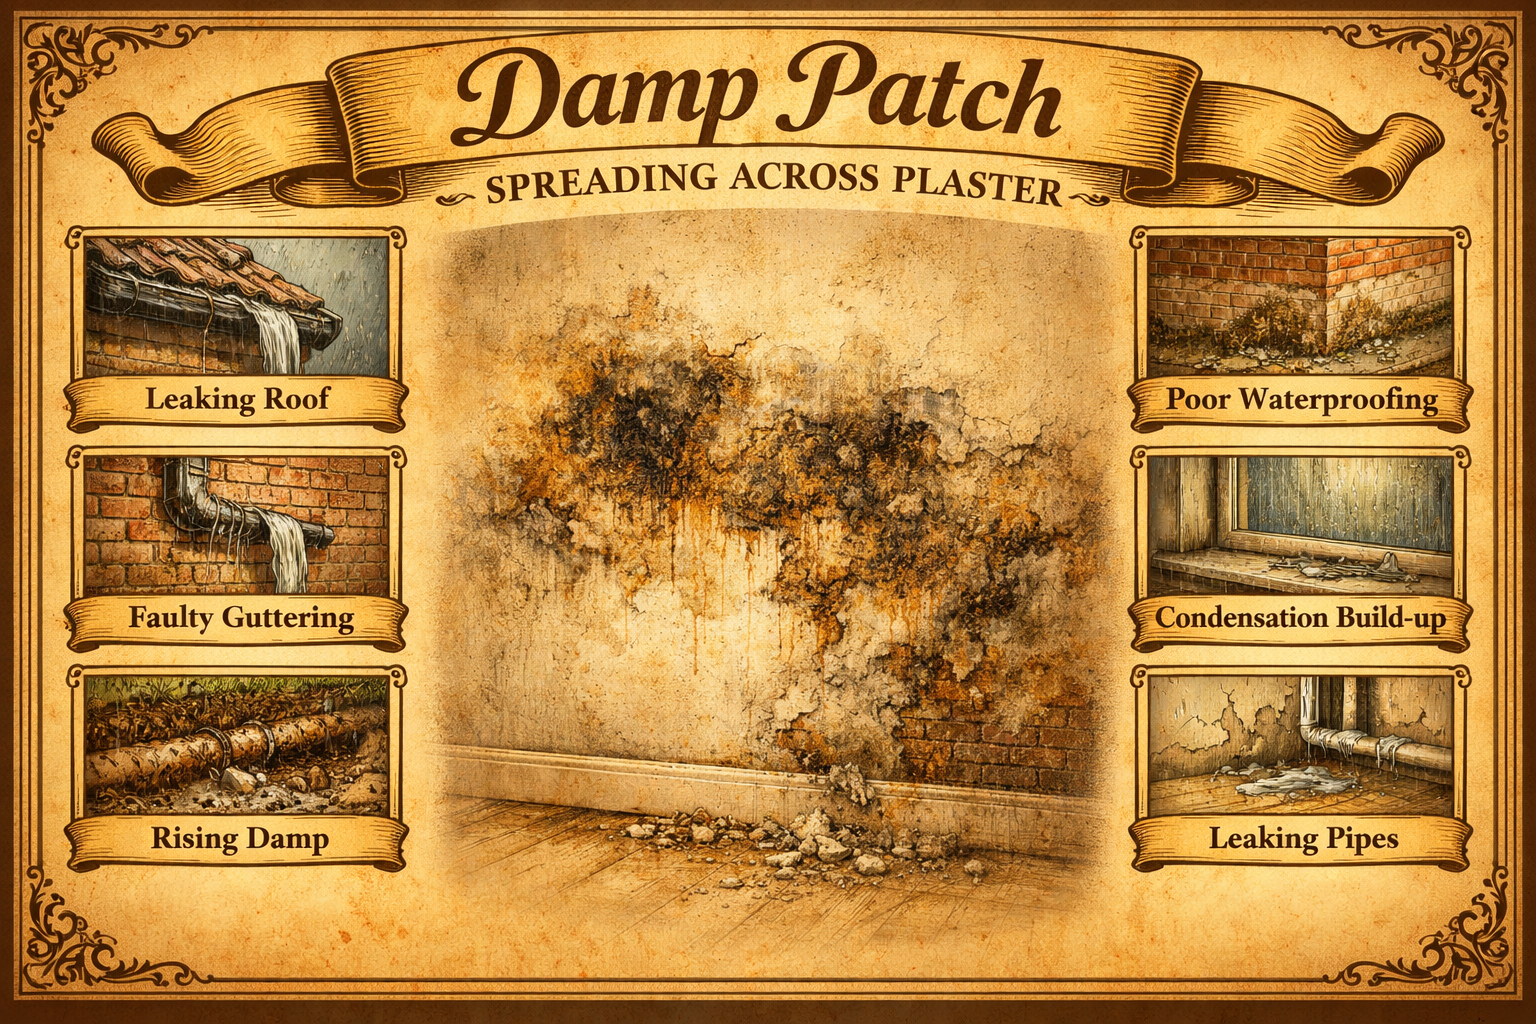
  • Damp Patch Spreading Across Plaster

    Damp Patch Spreading Across Plaster

    A damp patch that is spreading across plaster is a clear indication of an active and ongoing moisture issue. Unlike isolated patches, spreading damp suggests that water is continuing to enter or move through the structure.

    One of the most common causes is penetrating damp. Water entering through external defects can travel laterally through plaster and masonry, causing the damp area to expand over time. This is particularly common in walls exposed to heavy rainfall.

    Leaks are another major cause. A hidden plumbing leak can continuously supply moisture, allowing the damp patch to grow. In these cases, the damp may feel consistently wet and may not respond to changes in weather.

    In some situations, rising damp can also appear to spread, particularly if moisture is moving upward and outward through plaster.

    Typical signs include:

    • Damp patches increasing in size

    Peeling or bubbling paint

    • Soft or crumbling plaster

    • Persistent dampness

    To diagnose the issue, consider whether the damp is spreading horizontally (often penetrating damp or leaks) or vertically (possibly rising damp).

    Fixing the issue requires identifying and stopping the source of moisture. External defects should be repaired, leaks fixed, and any contributing factors addressed.

    Once the source is resolved, the affected plaster may need to be removed and replaced. Simply drying and repainting is rarely sufficient, as contaminated plaster can retain moisture and salts.

    Allowing the wall to dry thoroughly is essential before carrying out repairs. Depending on the severity, this may take several weeks.

    Preventative measures include regular property maintenance, monitoring for early signs of damp, and addressing issues promptly. A spreading damp patch should never be ignored, as it often indicates a problem that will worsen over time if left untreated.

  • Damp Patch in Corner of Room

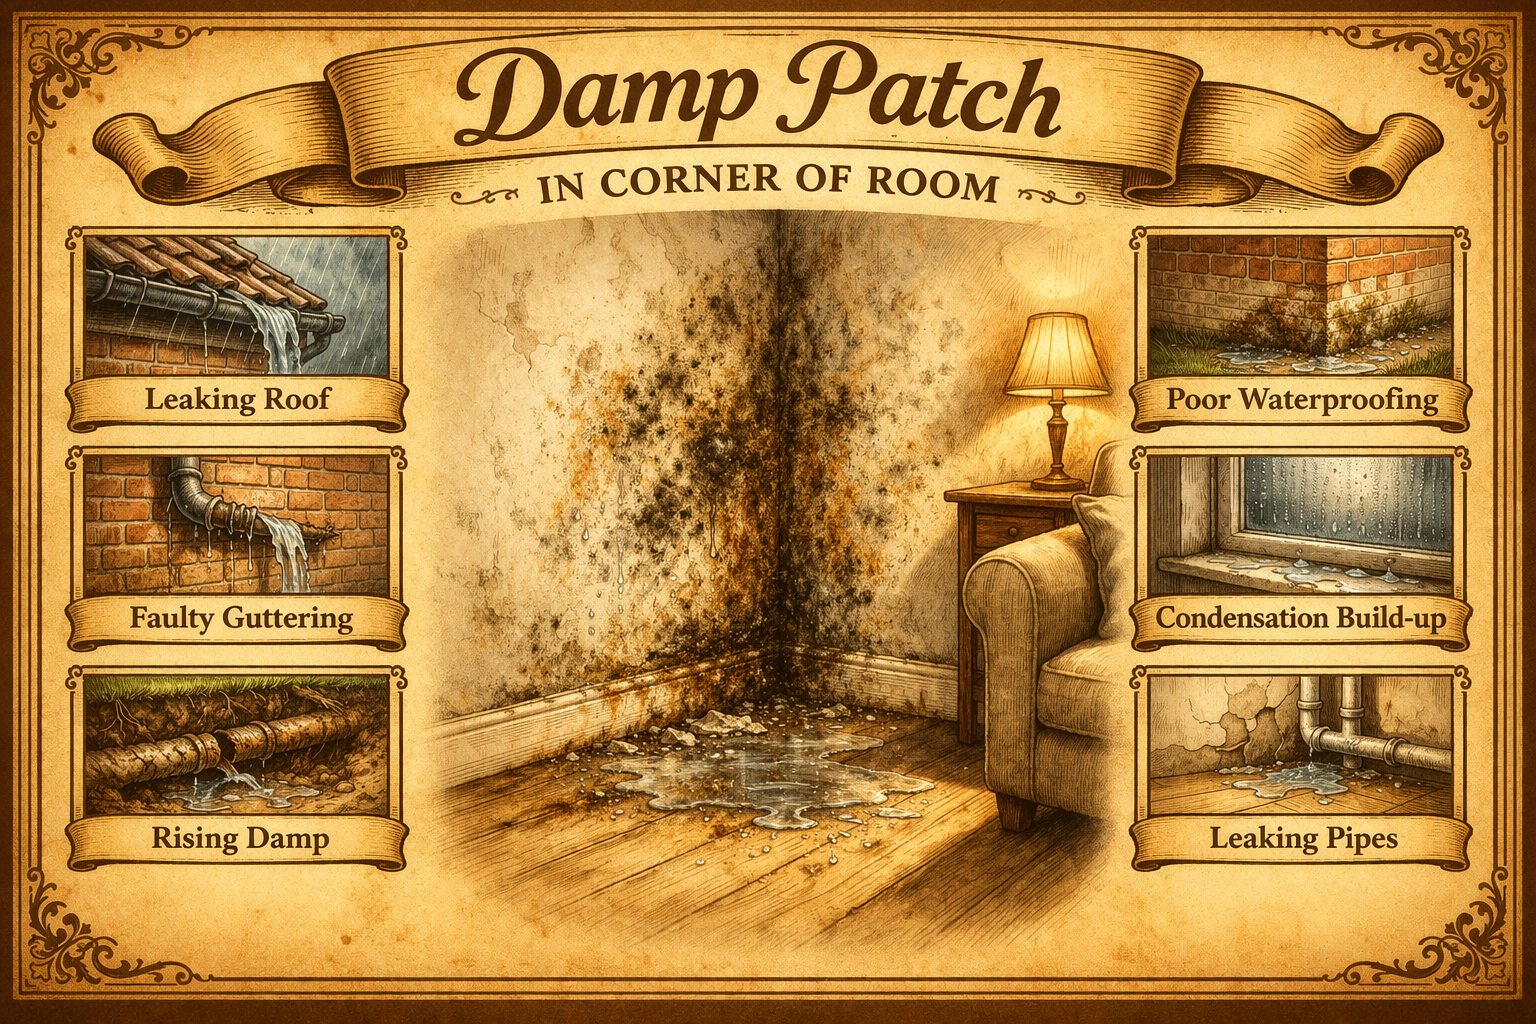
    Damp Patch in Corner of Room

    Damp patches in the corners of rooms are one of the most recognisable signs of condensation and cold bridging. These areas are particularly vulnerable because they are often the coldest parts of a room and have the least airflow.

    Cold bridging occurs where heat escapes more easily, such as at junctions between walls or where insulation is lacking. As a result, these areas become significantly colder than the rest of the room. When warm, moist air comes into contact with these cold surfaces, condensation forms.

    Corners are also prone to poor airflow, especially if furniture is placed nearby. This creates ideal conditions for moisture buildup and mould growth.

    Typical signs include:

    Unlike other forms of damp, this type is usually not caused by water ingress. Instead, it is related to indoor environmental conditions.

    To confirm the cause, check whether the damp is surface-level and associated with mould. If so, condensation is the most likely explanation.

    Fixing the issue involves improving airflow and reducing humidity. This can include:

    • Opening windows regularly
    • Using extractor fans
    • Keeping furniture away from corners
    • Maintaining consistent heating

    Improving insulation can also help reduce cold bridging. This may involve adding insulation to walls or addressing gaps in existing insulation.

    Using a dehumidifier can provide short-term relief, but long-term solutions should focus on ventilation and insulation.

    Preventing damp in corners requires a balanced approach to heating, ventilation, and moisture control. Addressing these factors can significantly reduce the risk of condensation and improve overall indoor comfort.

  • Damp Patch on Upstairs Bedroom Wall

    Damp Patch on Upstairs Bedroom Wall

    Damp patches on upstairs bedroom walls can be caused by several factors, and identifying the correct one is crucial for effective treatment. Unlike ground-floor damp, these issues are rarely related to rising damp and are more often linked to condensation or water ingress from above or outside.

    Condensation is a leading cause, particularly in bedrooms. Overnight, occupants release moisture through breathing, and if ventilation is poor, this moisture builds up. When it comes into contact with colder wall surfaces, it condenses and forms damp patches. This is especially common on external walls and in corners.

    Another major cause is roof-related leaks. Damaged tiles, faulty flashing, or blocked gutters can allow water to enter the roof space and travel down into walls. In these cases, damp patches may appear higher up on the wall or near the ceiling.

    Penetrating damp from external walls is also possible. Defects in brickwork, render, or pointing can allow rainwater to enter and affect internal surfaces.

    Typical signs include:

    To diagnose the issue, consider the location and timing. Damp in corners with mould is usually condensation, while damp near ceilings or that worsens after rain suggests leaks or penetration.

    Fixing condensation involves improving ventilation and maintaining consistent heating. Simple measures such as opening windows, using vents, and avoiding drying clothes indoors can help.

    For roof leaks, a thorough inspection of tiles, flashing, and gutters is required. Repairs should be carried out promptly to prevent further damage.

    Penetrating damp requires external repairs, such as repointing or fixing render defects.

    Preventative measures include maintaining the roof and external walls, ensuring good ventilation, and managing indoor humidity levels. Addressing the issue early can prevent more serious structural problems.

  • Damp Patch on Chimney Breast

    Damp Patch on Chimney Breast

    Damp patches on chimney breasts are a well-known issue, particularly in older properties. Unlike standard walls, chimney breasts are exposed to unique conditions that make them especially vulnerable to moisture problems.

    One of the most common causes is rainwater ingress from the chimney stack. Defects such as damaged flashing, cracked chimney pots, or deteriorated mortar joints can allow water to enter the structure. This moisture then travels down the chimney breast and appears internally as damp patches.

    Another frequent cause is unused fireplaces leading to condensation. When a chimney is no longer in use, airflow is reduced or eliminated. This creates a cold, stagnant environment where moisture can accumulate. Over time, condensation forms inside the flue and seeps into the surrounding masonry.

    A third factor is hygroscopic salts. Chimneys often contain residues from years of burning fuel. These salts can absorb moisture from the air, creating damp patches even in the absence of active water ingress. This type of damp can be persistent and confusing to diagnose.

    Typical signs include:

    • Damp patches on the chimney breast wall
    • Staining or discolouration
    • A musty smell
    • Damp that persists regardless of weather conditions

    To identify the cause, consider whether the damp worsens after rain (likely ingress), appears in unused chimneys (condensation), or seems constant (salts).

    Repairing the issue depends on the cause. For rain ingress, external repairs such as repointing the chimney stack, repairing flashing, or installing a chimney cap may be required.

    For condensation, improving ventilation is key. Installing a chimney vent or air brick can help maintain airflow and reduce moisture buildup.

    If salts are the issue, removing contaminated plaster and replacing it with a salt-resistant render may be necessary.

    Chimney-related damp is often a combination of factors, so a thorough inspection is essential. Addressing the problem early can prevent further damage and improve the condition of the surrounding structure.

  • Damp Patch Around Window Frame

    Damp Patch Around Window Frame

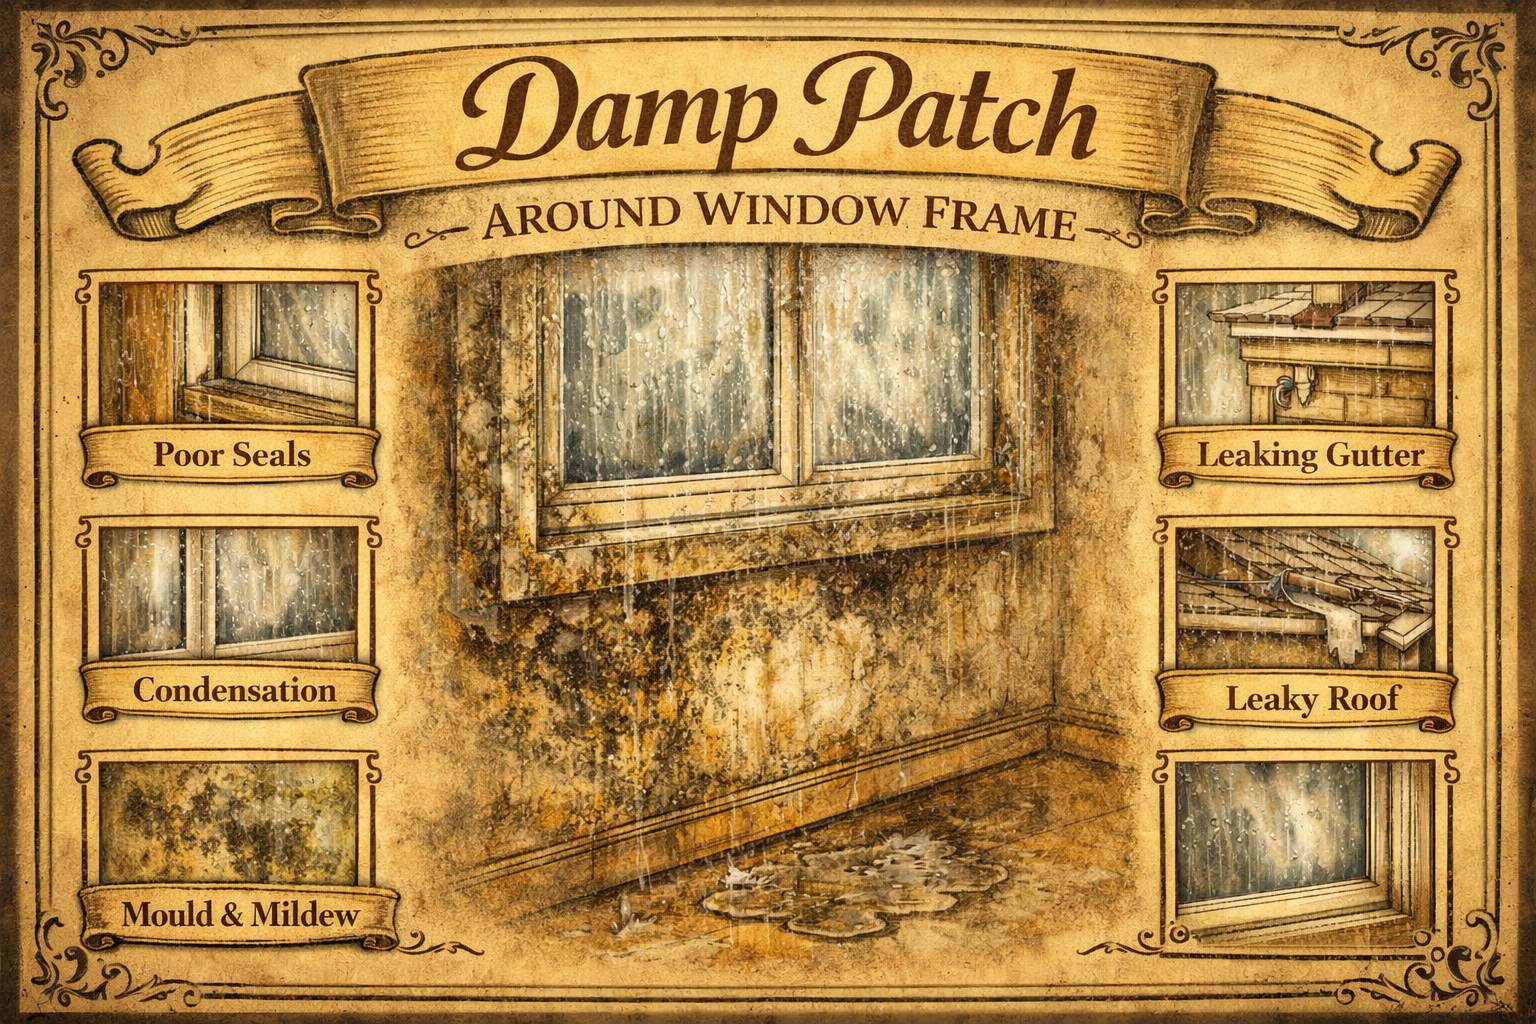
    Damp patches around window frames are a very common issue in UK properties, particularly during colder months. While they are often assumed to be caused by leaks, the reality is that condensation is the most frequent culprit — although other causes should never be ruled out without proper inspection.

    Condensation forms when warm, moisture-heavy air inside the home meets the colder surface of the window or surrounding wall. Windows are naturally one of the coldest points in a room, especially if they are single glazed or older double glazing units. As moisture condenses, it collects around the frame and can soak into adjacent plaster, leading to visible damp patches.

    You’ll often notice:

    However, condensation is not the only possible cause. Failed window seals are another major factor. Over time, the external sealant around window frames can crack or degrade, allowing rainwater to penetrate into the wall. This type of damp is more likely to worsen after rainfall and may appear as more localised staining.

    Poor installation can also be an issue. Gaps between the window frame and wall, inadequate cavity trays, or missing damp protection can all allow water ingress. In some cases, the problem may have been present since installation but only becomes visible over time.

    To diagnose the issue, consider:

    • Does the damp worsen after rain? (penetrating damp)
    • Is there visible condensation on the glass? (condensation)
    • Is mould present? (usually condensation)
    • Are external seals cracked or missing?

    Fixing condensation-related damp involves improving ventilation and reducing humidity. Opening windows regularly, using extractor fans, and maintaining consistent heating can all help. Upgrading to more efficient glazing or adding insulation around window reveals can also reduce cold surfaces.

    For penetrating damp, the solution is external. Replacing or repairing sealant, checking flashing, and ensuring proper installation details are in place will prevent further water ingress.

    Preventative maintenance is key. Regularly inspecting window seals, keeping trickle vents open, and managing indoor humidity levels can significantly reduce the likelihood of damp forming around windows.

  • Damp Patch Appearing After Rain

    Damp Patch Appearing After Rain

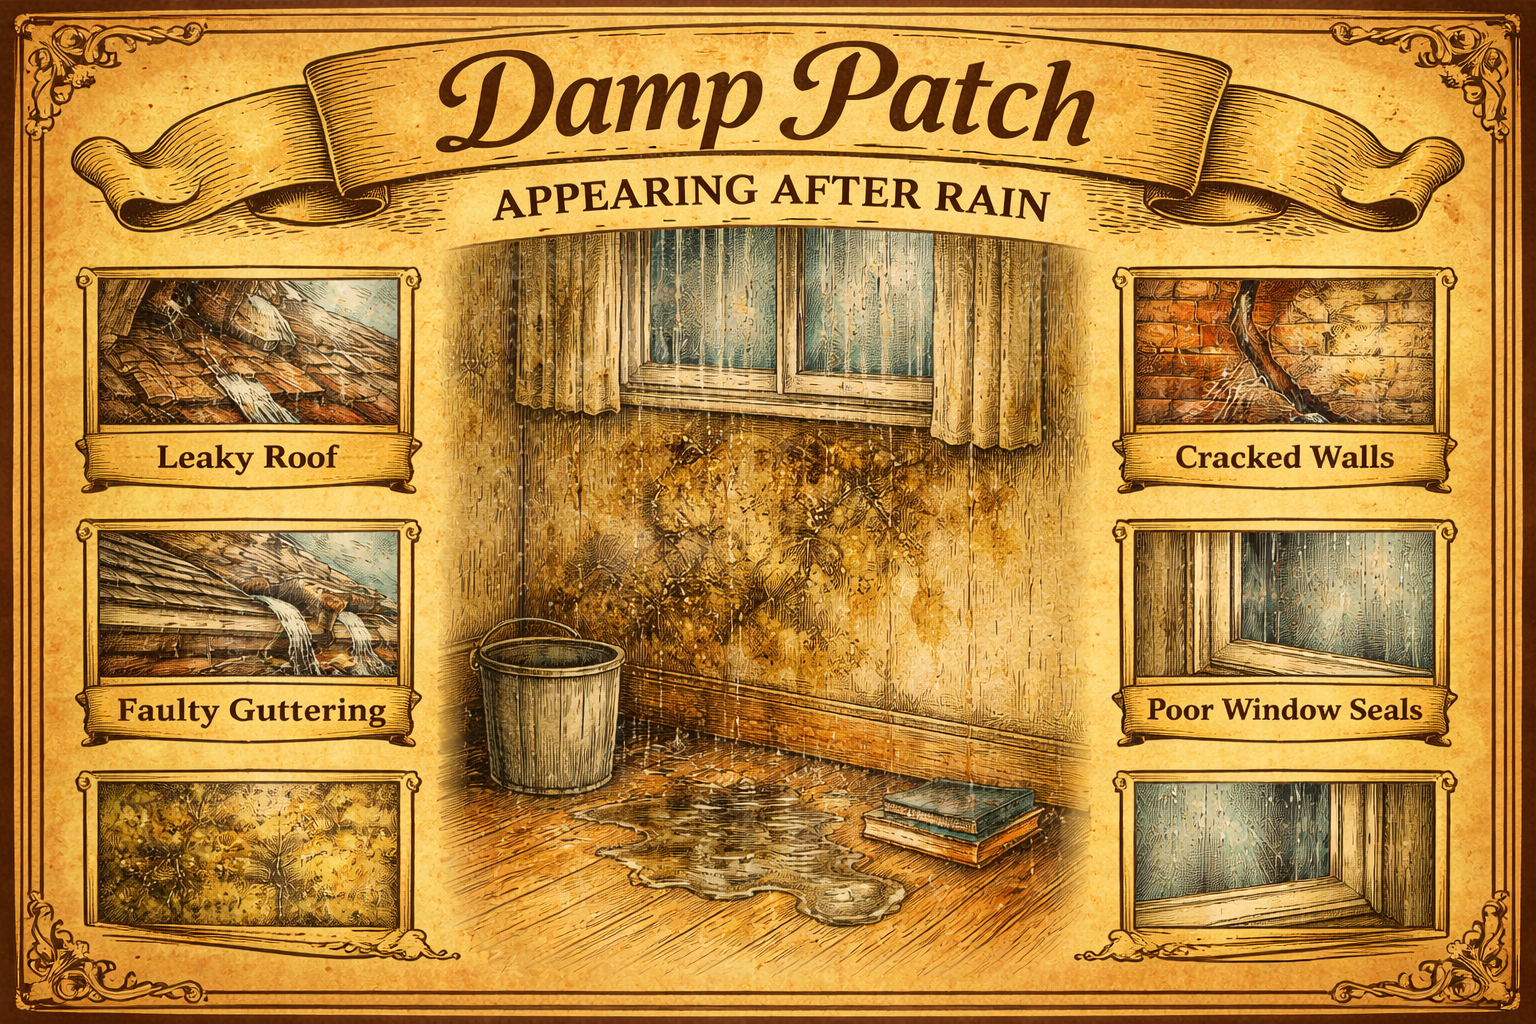
    A damp patch that appears or worsens after rainfall is one of the clearest indicators of penetrating damp. Unlike condensation, which is influenced by indoor conditions, penetrating damp is caused by water entering the building from outside.

    The most common causes are defects in the building’s exterior. Cracked render, damaged brickwork, and deteriorated pointing can all allow rainwater to seep into the structure. Over time, this moisture travels through the wall and appears internally as damp patches.

    Guttering and downpipe issues are another major factor. Blocked or broken gutters can cause water to overflow and run down external walls, saturating them and leading to internal damp.

    Roof problems, such as missing tiles or damaged flashing, can also allow water to enter from above. In these cases, damp patches may appear on upper walls or ceilings.

    Windows and doors are also vulnerable points. Poorly sealed frames or degraded sealant can allow water to penetrate, particularly during heavy or wind-driven rain.

    Typical signs include:

    • Damp patches that worsen during or after rain
    • Localised staining rather than widespread damp
    • Peeling paint or plaster damage
    • Visible external defects nearby

    Diagnosing the issue involves inspecting the exterior of the property. Look for cracks, gaps, or areas where water may be collecting or overflowing.

    Fixing penetrating damp requires addressing the source of water ingress. This may involve repointing brickwork, repairing render, clearing gutters, or fixing roof defects. Internal treatments alone will not resolve the issue.

    Once repairs are complete, the affected area should be allowed to dry naturally. Depending on severity, this may take several weeks or even months.

    Preventative maintenance is essential. Regular inspections of roofs, gutters, and external walls can help identify issues early. Keeping these elements in good condition is the best defence against penetrating damp.

    Penetrating damp can cause significant damage if left untreated, but with prompt action and proper maintenance, it can be effectively managed and prevented.

  • Damp Patch Behind Furniture

    Damp Patch Behind Furniture

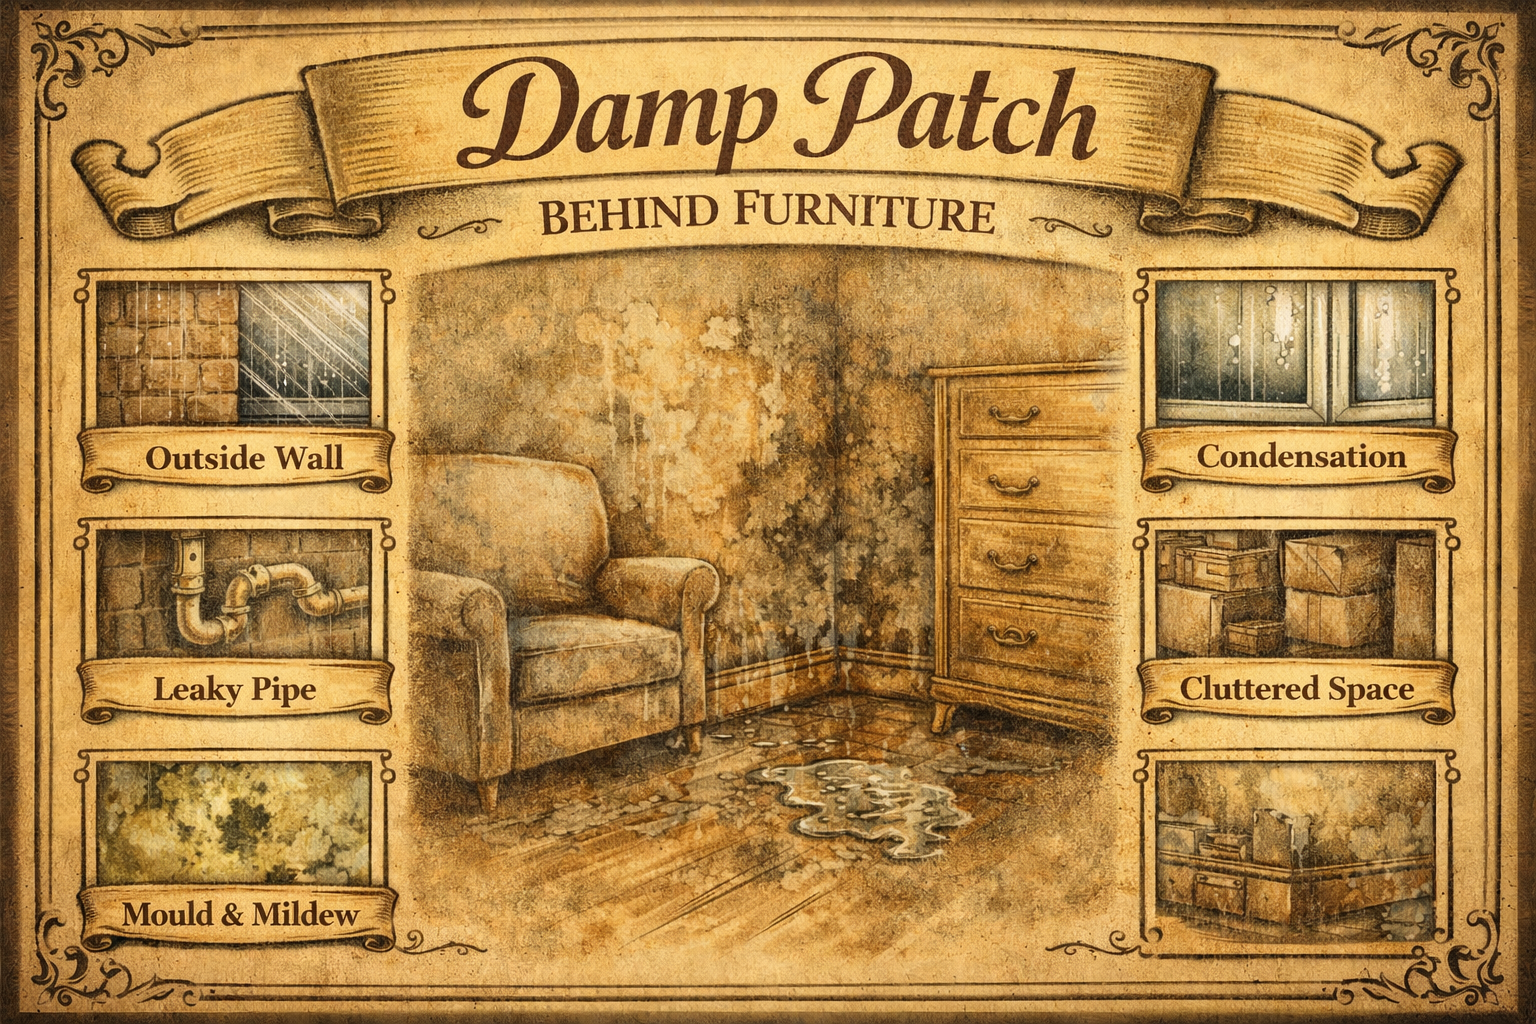
    Damp patches behind furniture are one of the clearest signs of condensation-related damp, yet they are often mistaken for more serious structural issues. In most cases, the problem is not the wall itself but how the space is being used.

    When furniture is placed tightly against an external wall, it restricts airflow. This creates a pocket of stagnant air where moisture can accumulate. As warm, humid air from the room meets the colder wall surface, condensation forms — and with nowhere to evaporate, it builds up over time.

    This is especially common during winter when heating is inconsistent and external walls are colder. Bedrooms are particularly prone to this issue due to overnight moisture from breathing and limited ventilation.

    Typical signs include:

    Unlike penetrating or rising damp, this type of damp is usually surface-level and does not involve structural water ingress. However, if left untreated, it can lead to mould growth, which can affect indoor air quality and health.

    The simplest solution is to improve airflow. Moving furniture even slightly away from the wall (5–10 cm) can significantly reduce condensation risk. This allows air to circulate and moisture to evaporate.

    Ventilation is also key. Opening windows, using extractor fans, or installing trickle vents can help reduce humidity levels. Maintaining consistent heating helps keep wall surfaces warmer, making condensation less likely.

    In some cases, a dehumidifier may be useful, particularly in rooms with high moisture levels. However, this should be seen as a supplementary measure rather than a complete solution.

    Long-term improvements may include upgrading insulation or glazing. Warmer wall surfaces are less prone to condensation, making this one of the most effective preventative measures.

    Preventing damp behind furniture is largely about balance — airflow, temperature, and humidity must all be managed. Small changes in layout and ventilation can make a significant difference and prevent recurring issues.

  • Damp Patch Near Skirting Board

    Damp Patch Near Skirting Board

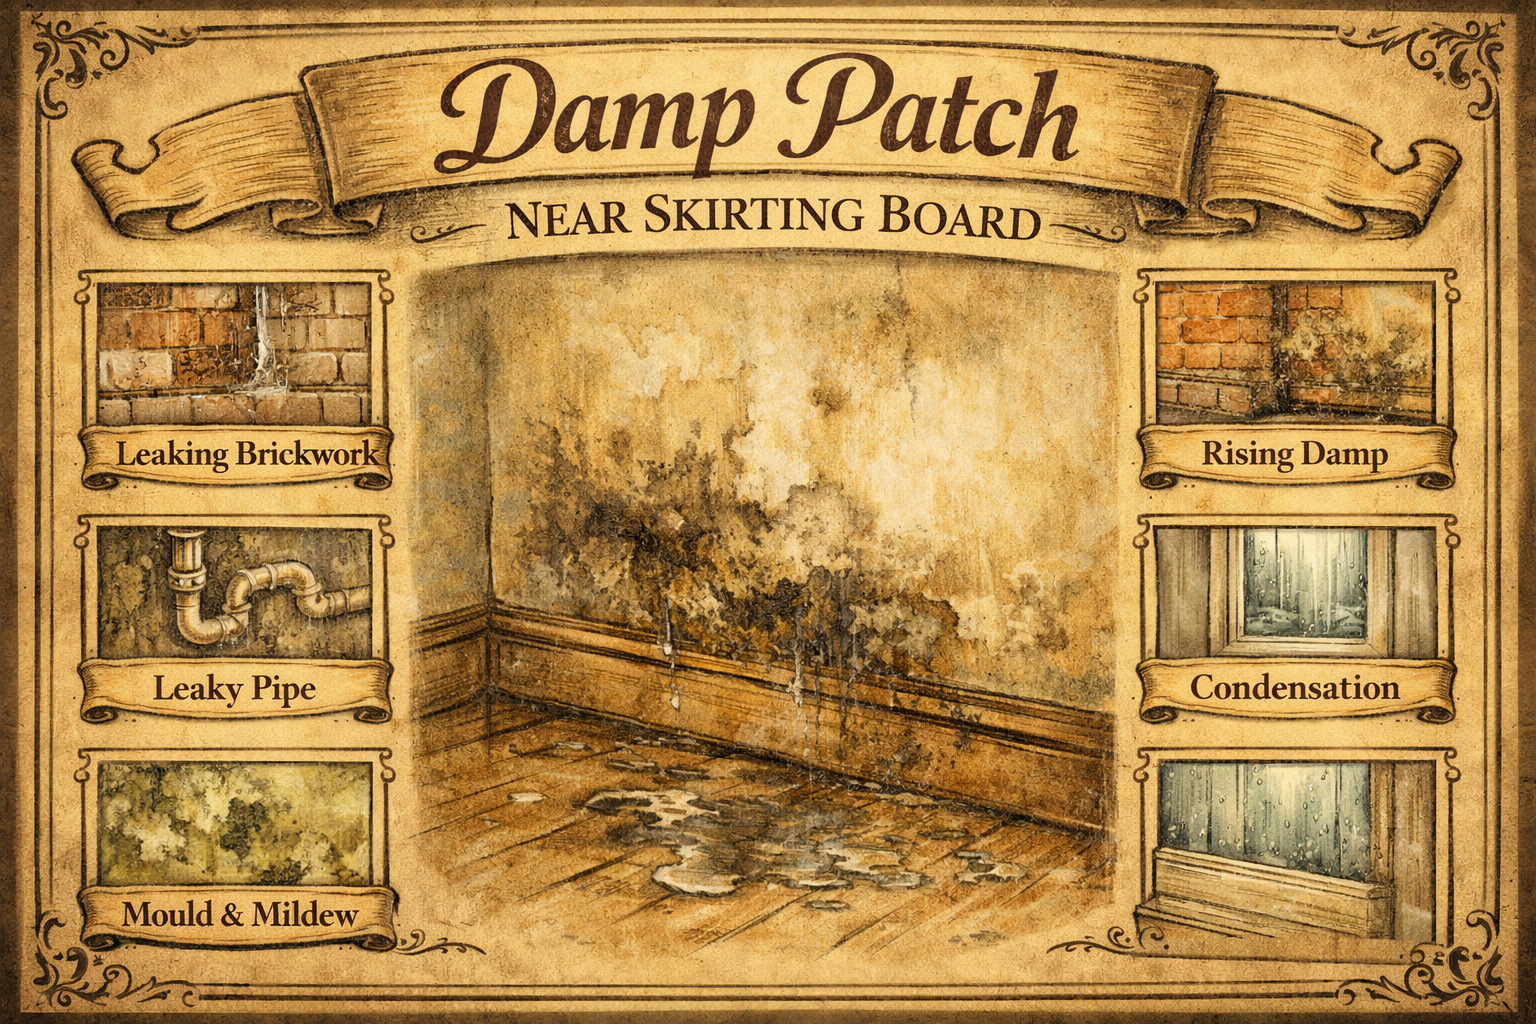
    Damp patches near skirting boards are often immediately blamed on rising damp, but in reality, this is only one of several possible causes. Misdiagnosis is common, and unnecessary damp-proofing treatments are often installed when the real issue lies elsewhere.

    Rising damp occurs when moisture from the ground travels upward through porous materials like brick and plaster. It typically affects the lower section of walls and is characterised by tide marks, peeling paint, and salt deposits. Skirting boards may become soft, warped, or rotten.

    However, for rising damp to occur, the damp proof course (DPC) must be missing, damaged, or bridged. In many cases, the issue is actually bridging, where external ground levels are too high or internal plaster extends below the DPC, allowing moisture to bypass it.

    Another very common cause is leaking pipework. Central heating pipes often run along the base of walls, and even a minor leak can create a damp patch in this area. Unlike rising damp, this type of moisture is usually more localised and may feel wetter.

    Condensation can also play a role, particularly in corners or poorly ventilated rooms. In these cases, mould is more likely than salt deposits, and the damp may fluctuate with temperature and humidity levels.

    Key signs to differentiate causes:

    • Rising damp: tide marks, salts, damage up to ~1 metre high
    • Leaks: localised damp, persistent moisture
    • Condensation: mould, surface damp, worse in winter

    Treatment must match the cause. If rising damp is confirmed, installing or repairing a DPC may be required. However, if bridging is the issue, lowering ground levels or removing plaster may solve the problem without chemical treatments.

    Leaks should be repaired immediately, and affected materials may need to be replaced if damaged.

    For condensation, improving ventilation and airflow is essential. This may include opening windows, installing vents, or repositioning furniture.

    Preventing damp at skirting level involves a combination of good building maintenance and proper ventilation. Regular inspections can help catch issues early before they develop into more serious problems.

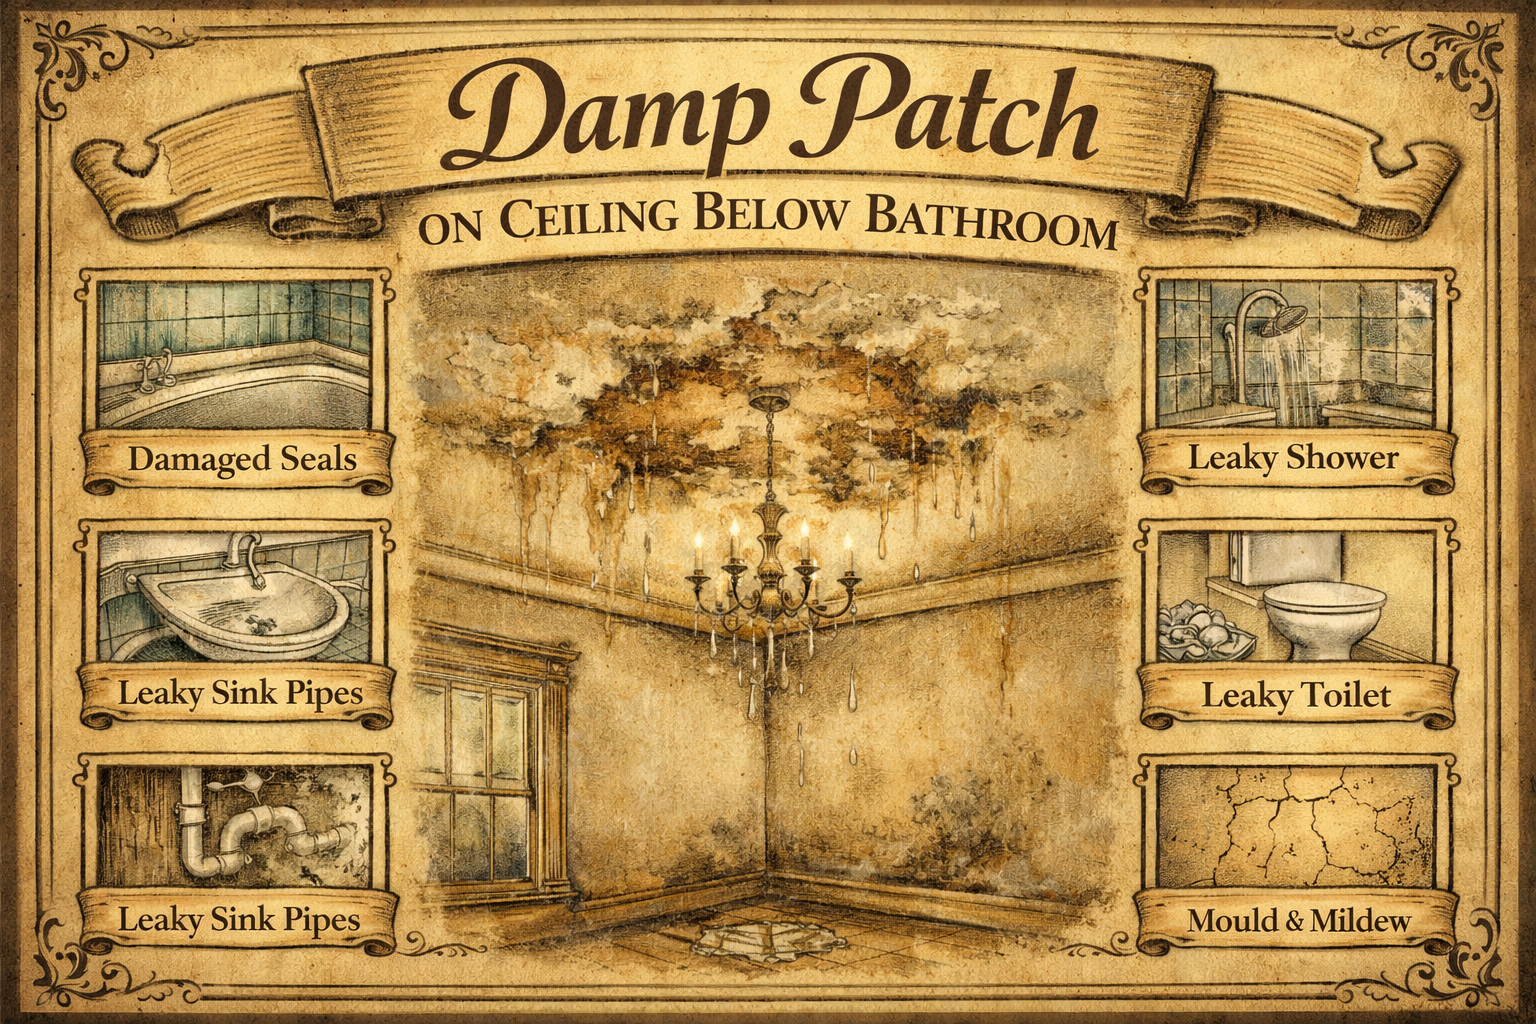
  • Damp Patch on Ceiling Below Bathroom

    Damp Patch on Ceiling Below Bathroom

    A damp patch on the ceiling below a bathroom is almost always a sign of a leak — and it’s one of the few types of damp where the cause is usually very clear. Unlike condensation or rising damp, this issue is directly linked to water escaping from above.

    The most common cause is failed seals around baths or showers. Over time, silicone sealant can degrade, crack, or pull away from surfaces, allowing water to seep through during use. This water often travels unseen beneath flooring before eventually appearing as a damp patch on the ceiling below.

    Another frequent issue is damaged grout between tiles. Grout is not fully waterproof, and once it begins to crack or deteriorate, water can penetrate behind tiles and into the structure. This is particularly common in older bathrooms or poorly maintained installations.

    Leaking pipework is another major cause. Waste pipes, overflow pipes, and water supply pipes can all develop small leaks. These leaks may be slow and intermittent, making them difficult to detect initially. However, over time they will create noticeable damp staining.

    Typical warning signs include:

    One of the best ways to confirm the source is to monitor when the damp appears. If it worsens after using the shower or bath, the issue is likely related to seals or grout. If it is constant, pipework is more likely.

    Repairing the problem always starts with fixing the source. This may involve resealing around the bath or shower, regrouting tiles, or repairing/replacing pipework. Access panels or lifting floorboards may be required to fully inspect the area.

    Once the leak is fixed, the ceiling must be allowed to dry thoroughly. This can take several weeks depending on the severity. Painting over a damp ceiling too soon will trap moisture and cause the problem to reappear.

    In cases where the plasterboard has been heavily saturated, replacement may be necessary. Water-damaged plasterboard can lose its structural integrity and may pose a safety risk if left untreated.

    Preventative maintenance is simple but often overlooked. Regularly checking seals, reapplying silicone when needed, and addressing minor leaks early can prevent major damage. A small issue in a bathroom can quickly turn into a costly repair if ignored.

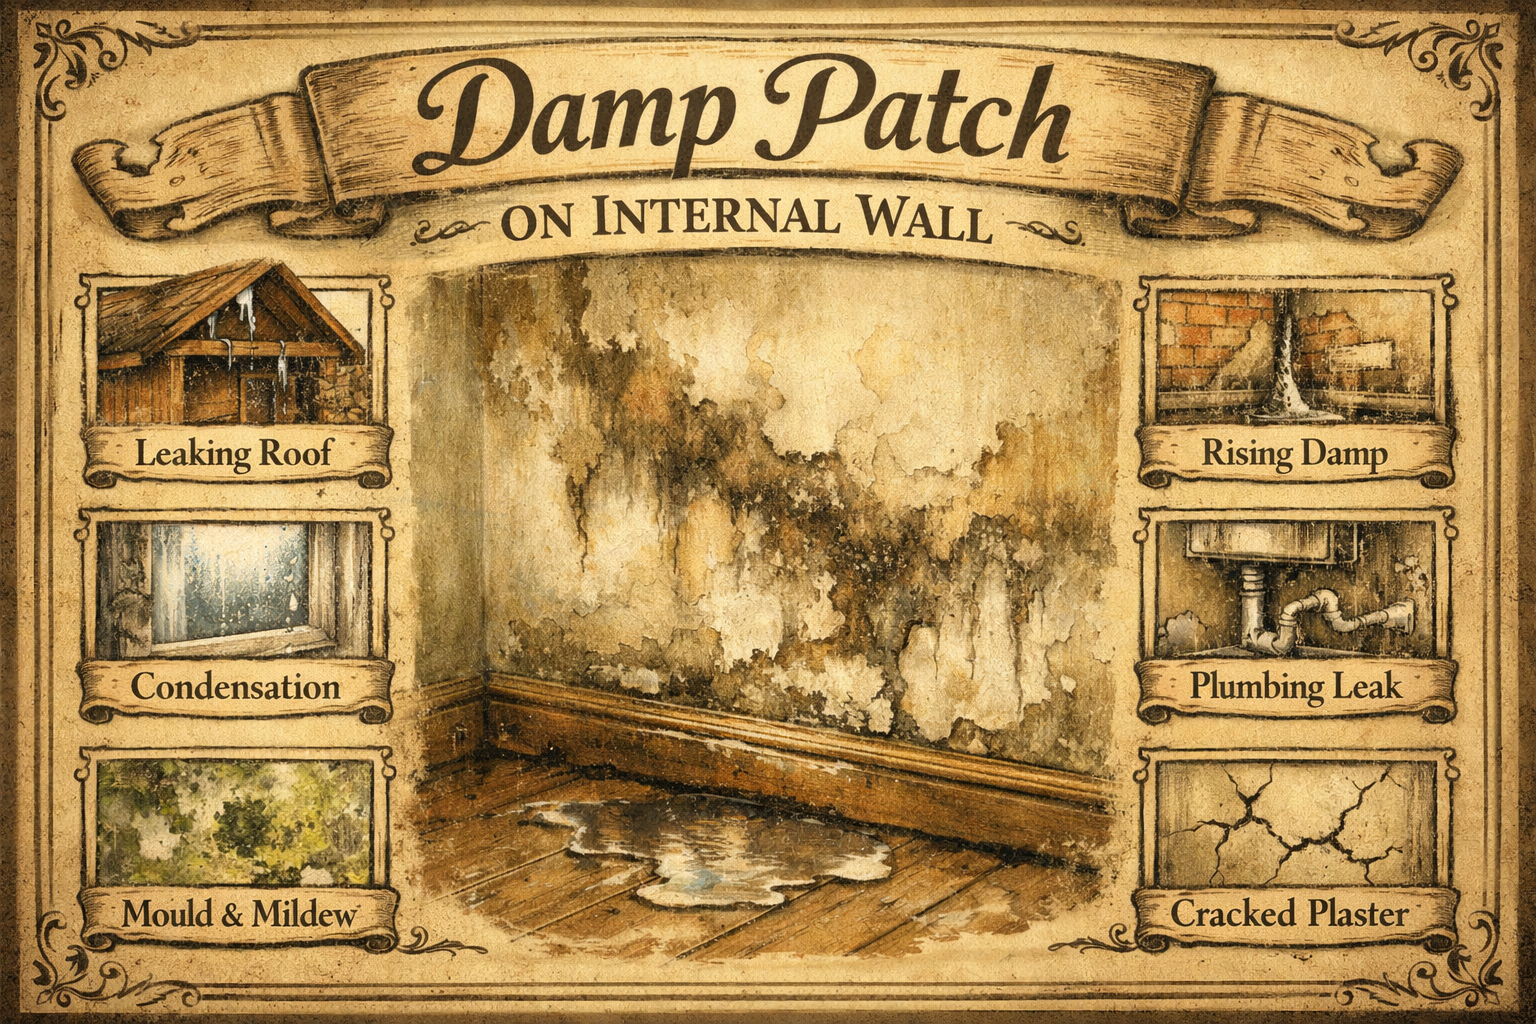
  • Damp Patch on Internal Wall

    Damp Patch on Internal Wall

    Damp patches on internal walls are one of the most common problems in UK homes, but they are often misdiagnosed. While the staining itself may look similar, the underlying causes can vary significantly — and getting it wrong can lead to wasted money and recurring issues.

    The most frequent cause is condensation, particularly in modern homes where ventilation is limited. Warm air holds moisture, and when that air meets a colder internal wall surface, it condenses into water droplets. Over time, this creates visible damp patches, often accompanied by black mould. You’ll typically see this in bedrooms, living rooms, or corners of rooms where airflow is restricted.

    However, not all internal wall damp is condensation. If the wall backs onto an external wall, penetrating damp is a strong possibility. Water can enter through defects such as cracked render, damaged pointing, or faulty guttering. This moisture then travels through the wall and appears internally. A key clue is whether the damp worsens after rainfall or appears as irregular patches rather than uniform condensation.

    Another common but overlooked cause is hidden plumbing leaks. Internal walls often contain pipework for heating systems or water supply. Even a very slow leak can saturate plaster over time, leading to persistent damp patches that never fully dry out. If the damp area feels consistently wet to the touch, this should be investigated.

    To properly diagnose the issue, ask:

    • Does it worsen in cold weather (condensation)?
    • Does it worsen after rain (penetrating damp)?
    • Is it constantly wet regardless of conditions (leak)?
    • Is there mould present (usually condensation)?

    Fixing the issue depends entirely on the cause. For condensation, improving ventilation is key — opening windows, installing trickle vents, or using extractor fans can make a significant difference. Consistent heating also helps keep wall surfaces warmer, reducing condensation risk.

    For penetrating damp, the solution lies outside. Repairs may include repointing brickwork, fixing cracks in render, or clearing gutters. Internal repairs alone will not solve the issue.

    If a leak is suspected, it should be addressed immediately. Ignoring it can lead to structural damage and even timber decay in surrounding materials.

    Preventative measures include maintaining airflow, monitoring humidity levels, and regularly inspecting both internal and external building elements. Damp on internal walls is rarely random — there is always a cause, and identifying it early is the key to a lasting fix.